How to sharpen a colored pencil
Learning how to sharpen a colored pencil is an indispensable skill for colored pencil artists!
If you are a fan of drawing with colored pencils, then you know how precious the colored pencils are to you... and how frustrating it can be when the lead breaks off! This article explains the various ways you can sharpen your colored pencils, as well as measures you can take to prevent the lead from breaking.
The "lead" in colored pencils is is technically called a “core”, so both terms will be used throughout this article. The core is comprised of colored pigment in a wax or oil base, depending on the brand.
Wax-based colored pencils, like Prismacolor Premier, are quite soft, which means they can break quite easily.
Oil-based colored pencils, like Faber-Castell Polychromos, tend to be harder, and are therefore less prone to breakage.
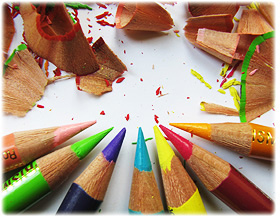
Colored pencil artists love getting their colored pencils to a nice sharp point, but when so much of the core is exposed, it becomes extremely vulnerable and prone to breakage.
What is the best way to sharpen colored pencils to prevent breakage?
Prismacolor colored pencils can work beautifully and last a long time if they are sharpened well and cared for correctly. Artists sharpen their Prismacolors in a number of ways: handheld pencil sharpeners, electric pencil sharpeners, cosmetic sharpeners, sandpaper blocks, and even the old-fashioned way - using a knife.
What works for one artist may not work for another artist. It is often a matter of trying out different sharpeners and sharpening methods, to see what works best for you. Here is the lowdown about the best ways on how to sharpen a colored pencil:
I've provided links below to the relevant products so that you can easily find them on Blick Art Materials, my favorite online art supplier. I'm a member of Blick's affiliate program, which means if you make a purchase after clicking on one of these links, I'll receive a small commission (at no extra cost to you). Your purchase helps support this site and keeps it free of ads. Click here for more info.
Handheld
Handheld pencil sharpeners allow for careful precision and control when sharpening. One sharpener that I have used for many years is the Maped Hand-Held Sharpener. It's a cheap, sturdy pencil sharpener that will last a long time.
Prismacolor also makes their own pencil sharpener, which many artists review favorably. The Prismacolor Colored Pencil Sharpener has a neat, compact shape, so it's great for travel without the mess.
The BEST way to sharpen a colored pencil?!
Most of us are accustomed to using handheld pencil sharpeners by inserting the pencil into the sharpener, and then rotating the pencil.
However, for colored pencil artists, there's a different technique you can try:
Hold the colored pencil in one hand and the pencil sharpener in the other hand, and then turn the pencil sharpener, while holding the colored pencil still.
The idea is that if you rotate the pencil sharpener instead, it reduces the stress on the colored pencil and reduces breakage.
Is this true? It's worth a try! I personally have difficulty rotating the pencil sharpener instead of the pencil, especially when using a pencil sharpener with 2 holes, so I usually just rotate the pencil the old-fashioned way, and it works fine for me.
Keep your sharpener sharp!
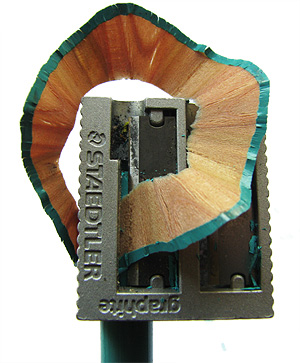
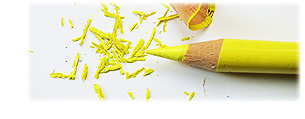
If you use a handheld pencil sharpener and you experience lead breakage, check whether your pencil sharpener is still sharp or not. You can determine if your sharpener is in good condition by checking the length of the pencil shaving. If your pencil sharpener can produce one long, continuous pencil shaving (as you see in this pic), then it is in good condition. That means you are less likely to experience any breakage as a result of sharpening.
If the shavings are small and come off in bits and pieces, it means your pencil sharpener has gone blunt. This means that there is more chance of breakage. If the blades are replaceable, replace the old one with a fresh blade. If the blades are not replaceable, try tightening the little screw to see if that makes a difference. If that doesn't help, it's time to chuck it out and buy a new pencil sharpener.
If your pencil sharpener is sharp and you are still experiencing breakage, read more reasons why the lead (core) in your colored pencils might break.
Another tip on how to sharpen a colored pencil with a handheld pencil sharpener:
When you use a handheld pencil sharpener to sharpen your colored pencils, try not to apply too much pressure. Use a gentle touch to press the pencil against the blade. It may help if you hold the pencil vertically, as shown above, rather than horizontally.
Electric Sharpeners
If you make a purchase via the links below I receive a small commission, which helps support this site.
Some artists love electric pencil sharpeners for sharpening their colored pencils, whereas others report problems. There is a big debate over which type of sharpener is best for colored pencils: handheld vs electric.
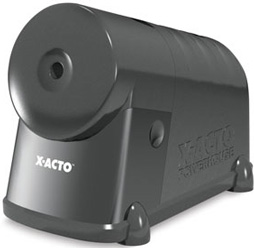
With electric pencil sharpeners, you have a lot less control. You basically slip your pencil into the thin dark abyss and hope for the best. The danger with electric sharpeners is that they may apply too much force, grinding away at your precious pencil. With handheld, you have the ability control the amount of force applied on the pencil.
Some teachers report that their electric pencil sharpeners get ruined from students using them to sharpen colored pencils. This is most likely due to the fact that the wax from the colored pencils will inevitably build up and clog the sharpener.
Tips on how to sharpen a colored pencil with an electric pencil sharpener:
If you use an electric pencil sharpener, be sure to run a regular graphite pencil through the sharpener on a regular basis. The grease from the graphite will help to clean and clear the blades. It's also advisable to open up the sharpener and clean the blades with Q-tips or toothpicks every now and then.
Sandpaper Blocks
Sandpaper blocks are an easy way to sharpen your colored pencils. They consist of several layers of sandpaper mounted onto a wooden block.

Tips on how to sharpen a colored pencil with a sandpaper block:
Holding your pencil at an angle, run it back and forth over the surface of the sandpaper, rotating it evenly to sharpen every side. When the top page of sandpaper becomes unusable, simply tear it off and you've got a fresh new sheet!
Sandpaper blocks are small and lightweight, making them very portable. You can also use them to sharpen charcoal and pastels.
Knife
You can also get back to basics by sharpening your colored pencils with a utility knife. This is the most dangerous option, because the blade is exposed, but it's common with artists (espcially those who use graphite) because it allows them to sculpt different shapes that aid in stroke-making.

Tips on how to sharpen a colored pencil with a knife:
Sharpen the pencil by holding it in one hand, and holding the knife in your other hand. Hold the knife at an angle away from your body and carefully press it down against the end of the pencil with your thumb, shaving it off bit by bit. Rotate the pencil so that you evenly shave each side.
Check out the Let’s Draw course to see a step-by-step video of how to properly sharpen a pencil with a knife. They’ll also show you how to sculpt different point shapes and demonstrate the strokes and lines they help you achieve.
Hand-crank pencil sharpeners
How to sharpen a colored pencil with a hand-crank pencil sharpener:

Don't do it - unless you buy one specifically made for colored pencils! Hand-crank sharpeners are the type of pencil sharpeners that you often find attached to the wall at schools and universities (like the one shown here). These types of hand-crank pencil sharpeners will typically butcher colored pencils.
Nowadays though, there are artist-quality hand-crank colored pencil sharpeners available that do get rave reviews. Using a hand-crank pencil sharpener is so much quicker than using a small manual sharpener, so it’s definitely something to consider!
The Derwent Super Point Manual Helical Pencil Sharpener gets really great reviews, so it's worth looking into if you don't want to get an electric sharpener.
Now that you know all the different ways you can sharpen your colored pencils, what other steps can you take to prevent the lead (core) from breaking?
The fact is, no matter how carefully you sharpen the pencils, the core inside the colored pencils can still break. If they are dropped on hard surfaces or banged around, the lead inside the pencil may weaken and break when it is sharpened. So take good care of your colored pencils - don't drop them!
Remember though, that even if you treat them with the utmost care, you never know what may have happened to them before they reached your hands - they may have been dropped at the store or banged around during shipment. So, even if you conscientiously keep your colored pencils safe and stable and they still break, it may be due to previous treatment and no fault of your own.
So is there anything you can do if the lead is weakened or broken on the inside?
On Prismacolor's website, they recommend "setting the pencils in a warm, sunny spot for a few minutes [which] can soften the wax-based colored pencils." Since the cores of Prismacolors are wax-based, the heat will soften the wax core and cause the broken pieces to fuse together. To me this sounds like the safest method for mending a colored pencil.
What about microwaving or freezing?

There are some "kitchen" techniques that many artists have tried (some with success and some without) such as microwaving the colored pencils for 5-10 seconds or placing them in a warm oven for a few minutes. Alternatively, some artists report that freezing colored pencils makes them easier to sharpen (which certainly seems safer than popping the pencils in a microwave or oven).
It’s risky!
However, these techniques - particularly the ones involving microwaves or conventional ovens - come with risks. I haven't tried any of the kitchen techniques myself so I can't verify their effectiveness or suggest that you try them, so if you do try the microwave or oven technique, you do so at your own risk. Please exercise all caution and keep a close eye on the colored pencil at all times. Remember that all microwaves are different so what works for one person in their microwave might not work in yours. Also be aware that if your colored pencil is labelled with metallic lettering, this can cause sparks (or worse) in your microwave.
Reports from those who’ve tried it:
One Art-is-Fun visitor wrote in to say that she tried putting a Crayola colored pencil in her microwave to repair the broken lead, and reported: "After 8 seconds I opened the door to check, and smoke came pouring out of the microwave. The pencil had split end to end, and the bit of lead at one end was carbonized. At the other end, it had bulged out. The paint was blistered and missing in placed." This is clearly an example of the microwave technique not working, and it's lucky she checked on the colored pencil when she did. It's up to you whether you want to take the risk.
Another visitor wrote in to say that, "Microwaving of pencils can work, but only if you put a container of water in with the pencil you are trying to mend. Even then it isn't a 100% guarantee that it will work or that your pencil won't suffer some damage, but your chances of success are much higher."
What does Prismacolor say about microwaving colored pencils?
It's worth noting that the concept of microwaving broken colored pencils has become so widespread that Prismacolor answered a question about this in their website's FAQ. They advise against putting their colored pencils in the microwave and instead provide the suggestion of placing the pencil in a warm sunny spot for a few minutes, which is certainly the safer option.
More tips for keeping your colored pencils in good, sharp condition:
Sharpen them as soon as you get them. Keeping them sharp all the time may help reduce breakage, because it means less force is needed to bring them to a sharp point.
Try using a sharpener with a larger opening, which will be more gentle on the pencil. This will make a smaller angle on the pencil, making it less pointy. It also means that less of the lead is exposed, and more of it is protected by the wood.
Whether you are using a handheld or electric sharpener, always clean out the shavings. Otherwise the shavings may cause problems when sharpening the pencil.
In the end, finding the best way to sharpen your Prismacolor colored pencils is an individual quest. What works wonders for one artist will mysteriously not work for another artist. A large part of the reason for this is that we don't know how the colored pencils were treated before we got them. But we can take control of how we treat them now that they are in our care! So try out a few of these ideas on how to sharpen a colored pencil and see what works best for you!
Colored Pencils Guide
If you’d like to learn more about my recommended colored pencils – and important factors like consistency, brand, and permanence – check out my Guide to Colored Pencils and my guide to Tools and Accessories for Colored Pencils.
Learn to Draw Realism with Colored Pencils
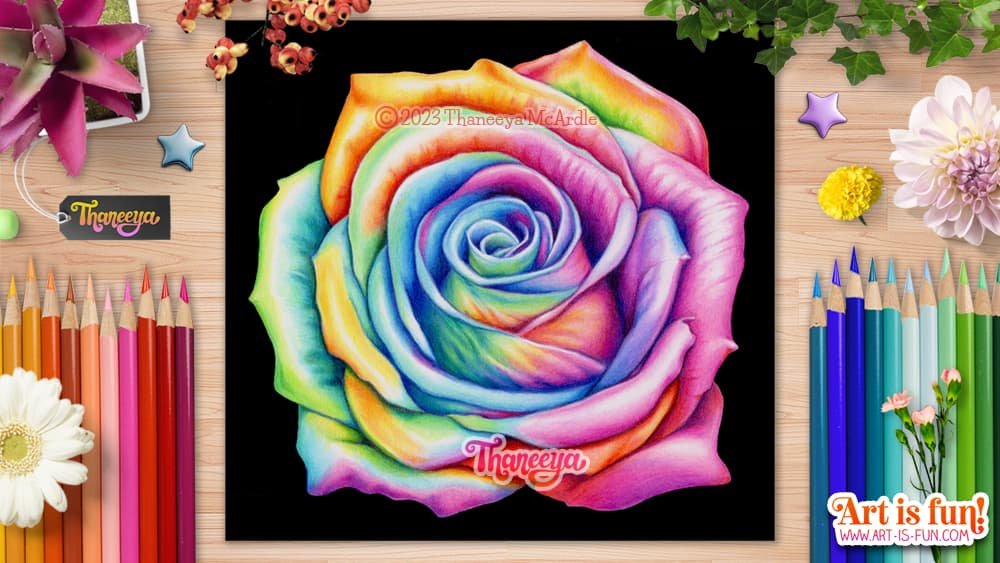
Learn the best techniques for drawing realism with colored pencils! I’ve also included a video so you can see how this rainbow rose colored pencil drawing unfolded from start to finish.
Colored Pencil Tutorial
Follow along as I color in the whimsical nature scene below in my detailed step-by-step colored pencil tutorial!

Step-by-step colored pencil coloring lesson by Thaneeya McArdle
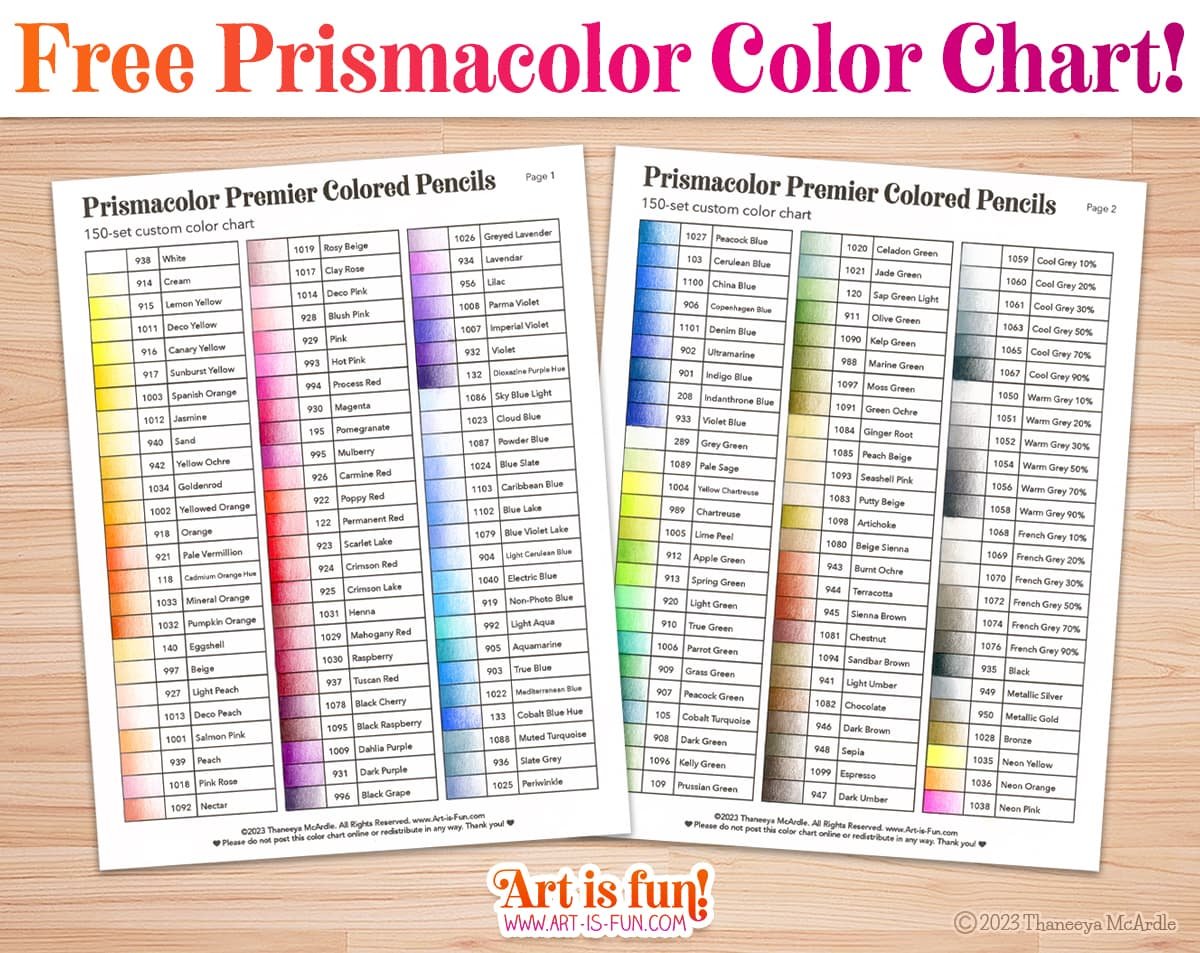
Stay organized with my free blank Prismacolor color chart that you can download, print and fill in!
Level-up Your Colored Pencil Skills!
Make the most of your new colored pencils with these easy-to-follow video lessons from Skillshare! Get instant access with a 14-day free trial or use our code, ARTISFUN30, to get 30% off annual membership! As a Skillshare affiliate I get a small commission that helps support this site.
How to Draw Course
If you want to learn more tips and tricks about drawing, check out my review of the Let’s Draw Course.
In addition to the fundamentals of drawing, you’ll learn all about different ways to sharpen your pencils, and how various art supplies can enhance your abilities.


