Alcohol Marker Portrait Lesson
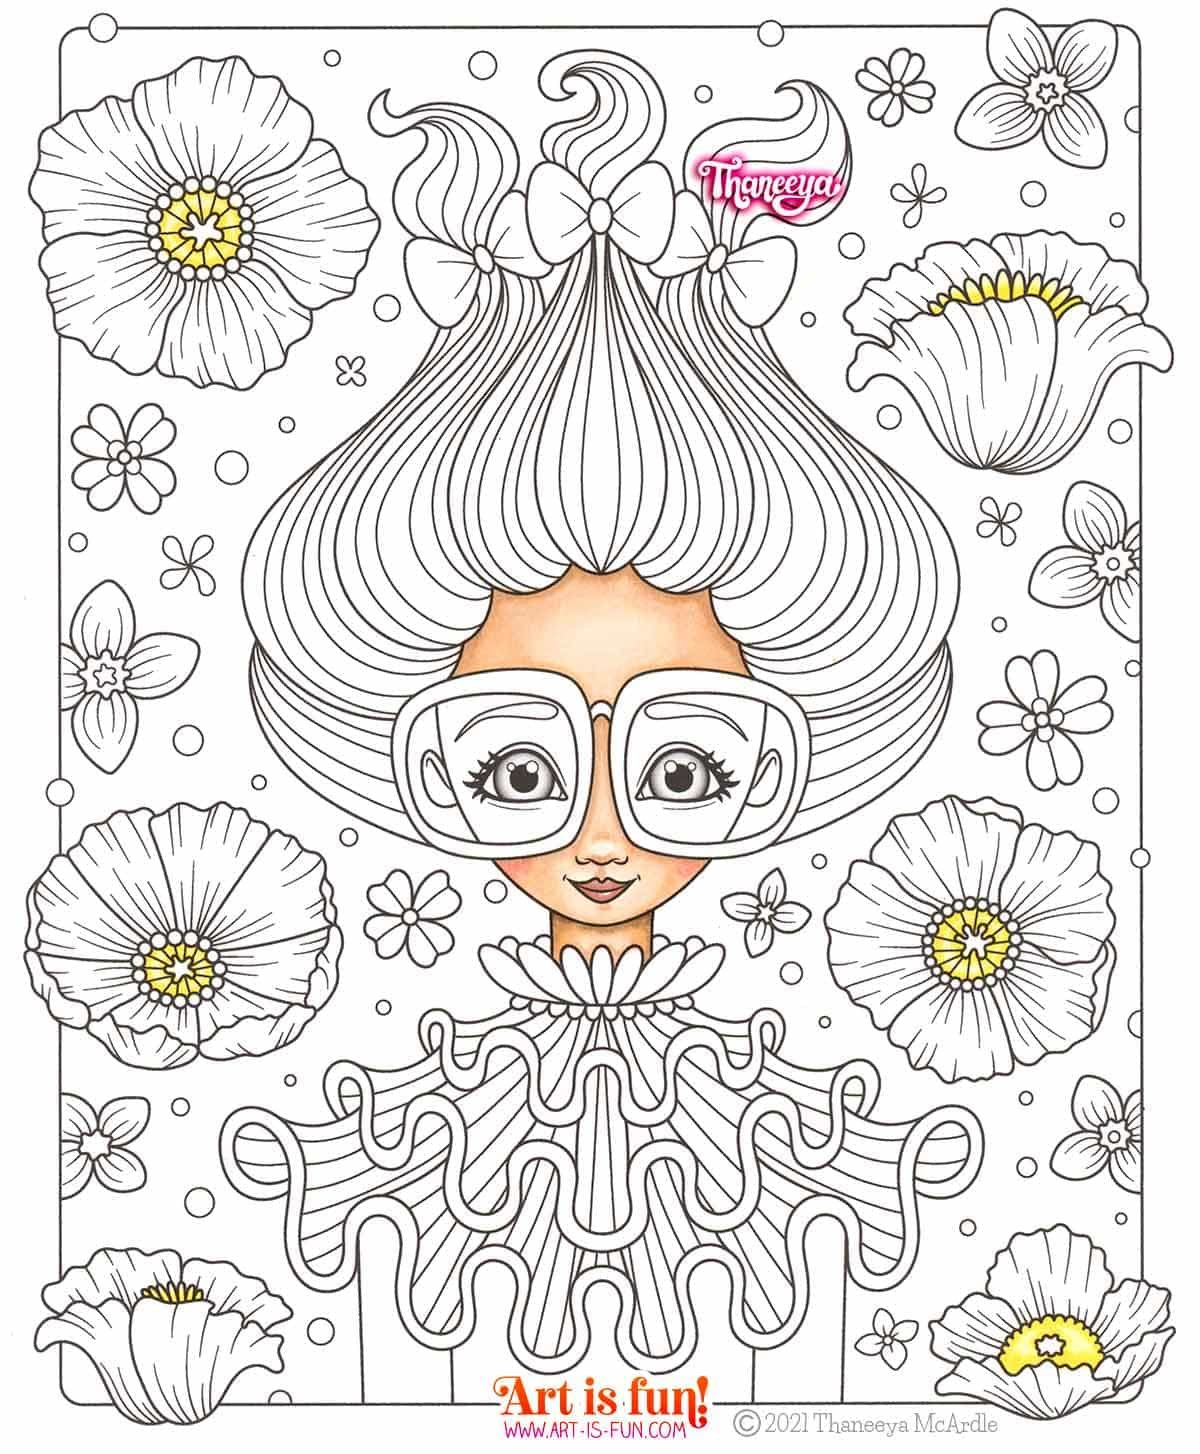
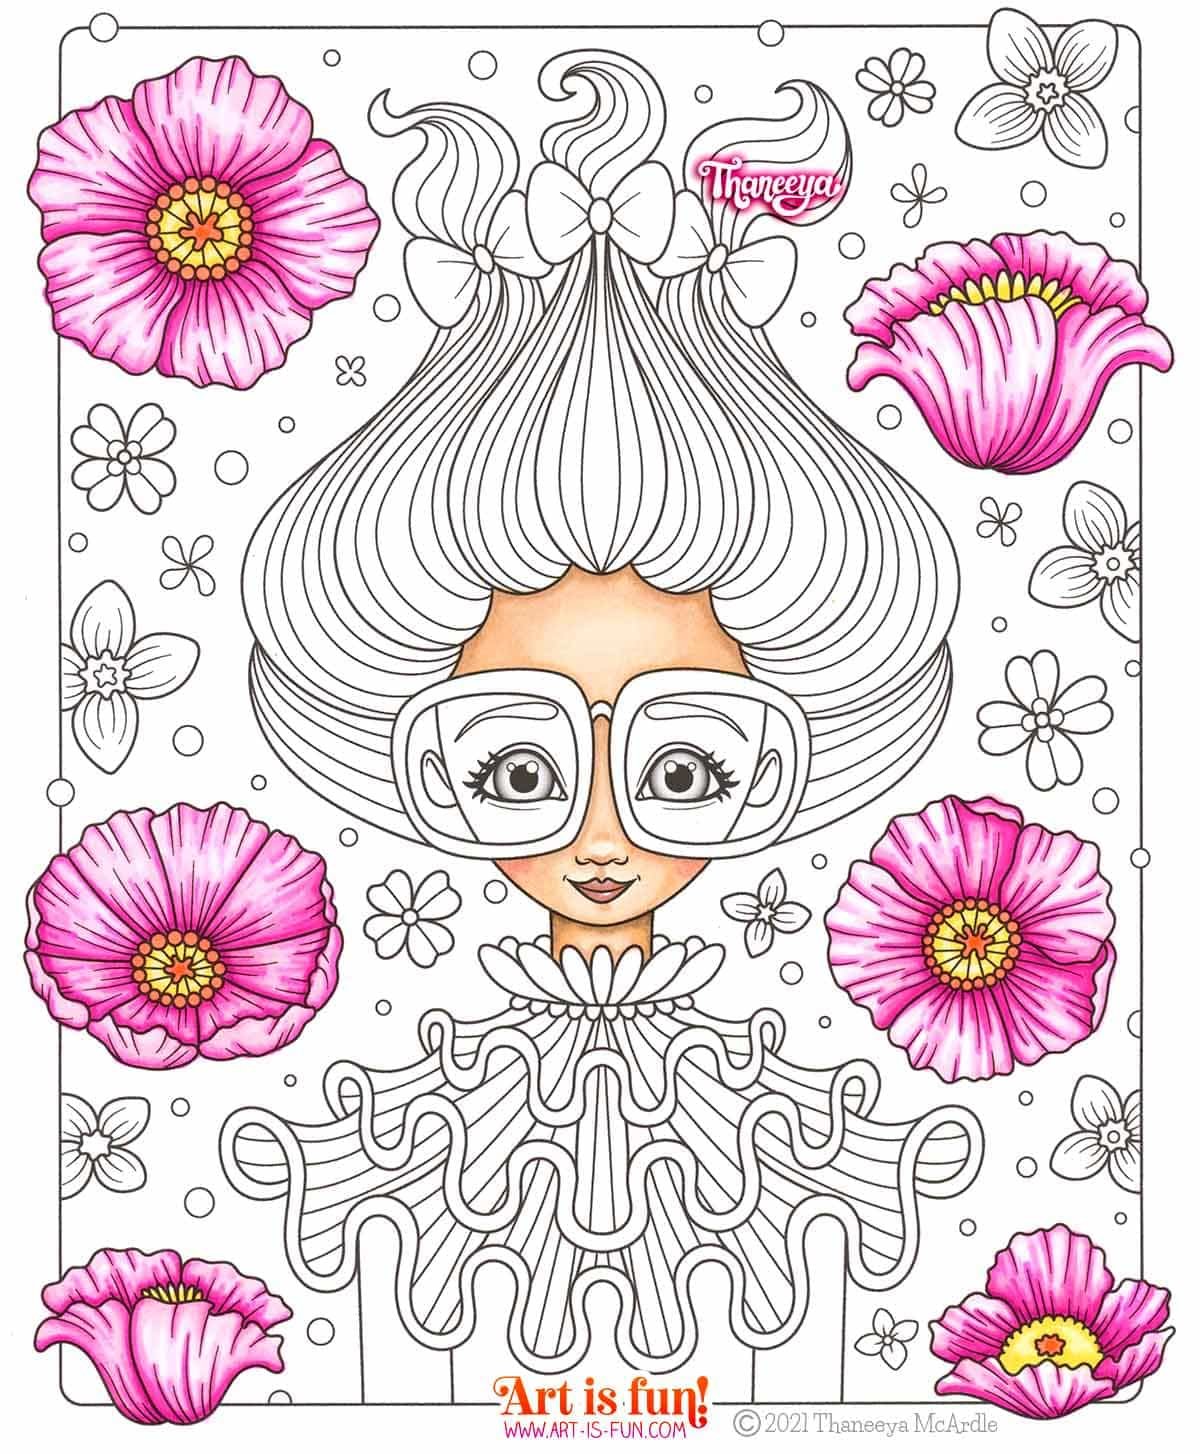
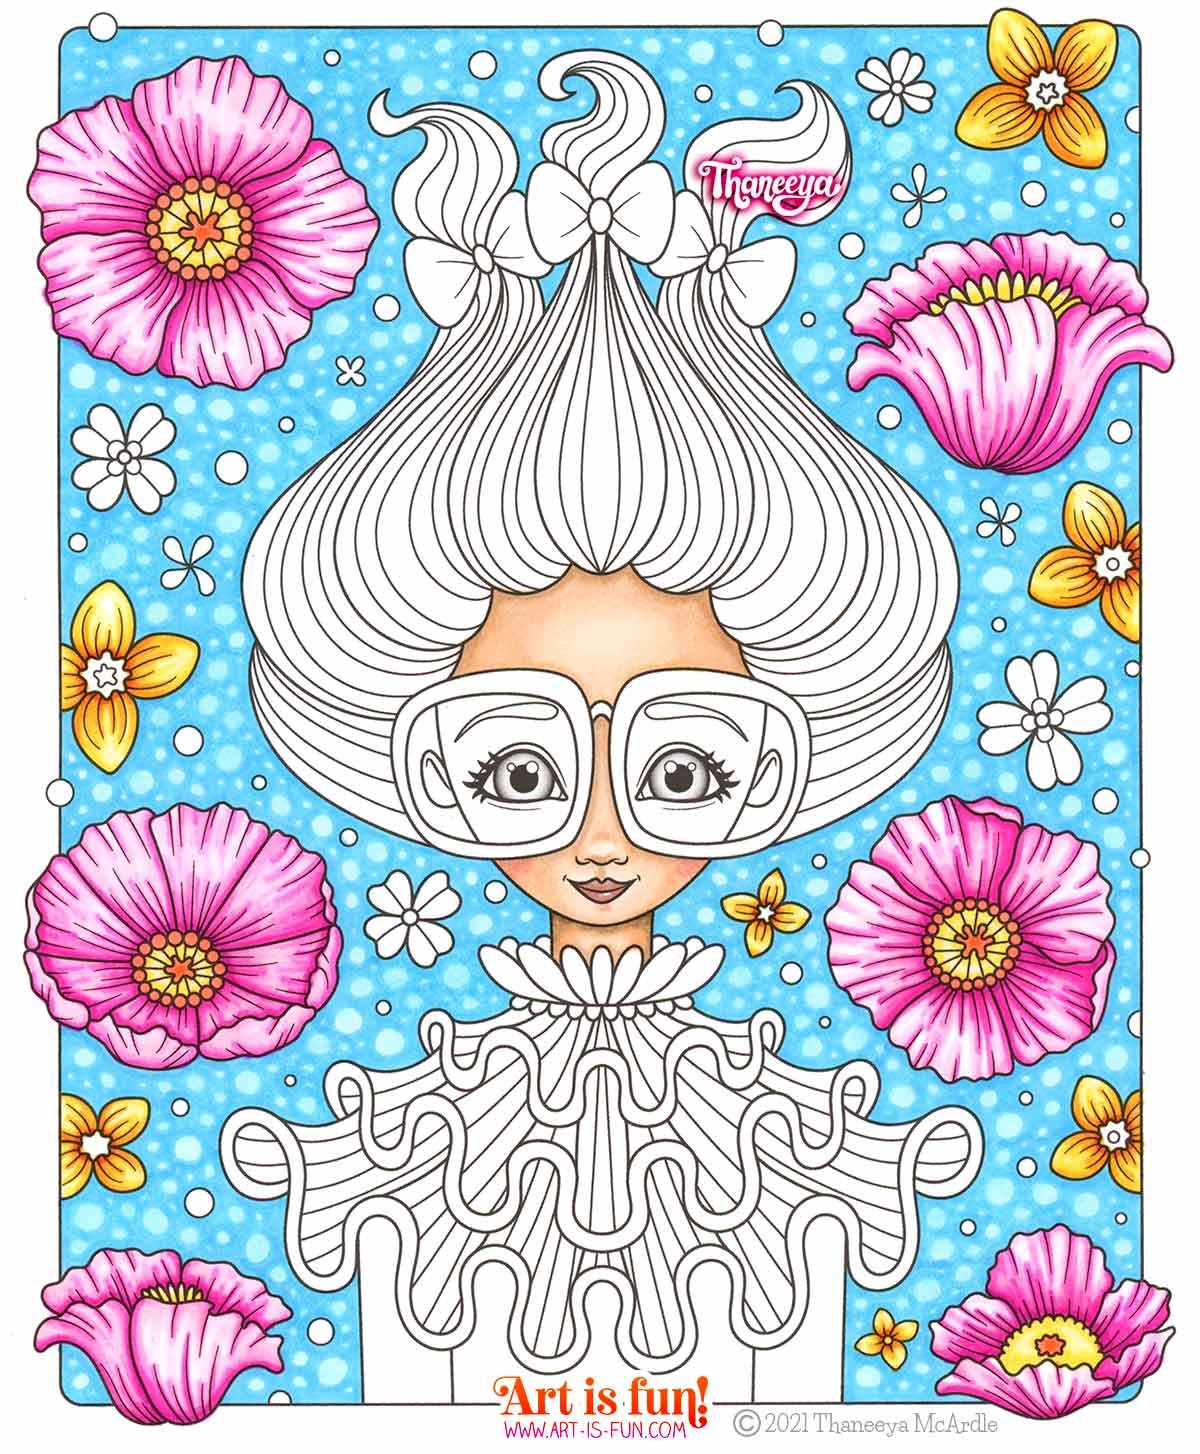
In this alcohol marker portrait lesson, you’ll learn how to use alcohol markers to create this whimsical portrait!
Click the artwork above to view it larger!
If you’d like to follow along, you can find the line art for this lesson in my set of printable Enchanted Faces Coloring Pages!
I colored in this whimsical portrait using Arrtx Alp Markers, but you can follow along using whatever brand of alcohol markers that you own! Color swatches are provided below, so you can match the colors that I used to whatever colors you have in your collection.
The Arrtx Alp Markers that I used have a fine bullet nib on one end and a chisel nib on the other. Although I used bullet nib markers for this artwork, you can also use brush nib markers for this. Just make sure that the markers you’re using are alcohol-based, because the techniques described here are specific to alcohol markers.
If you’re brand-new to alcohol markers and you’re not sure how to blend, please check out my free alcohol marker blending tutorial, where you can learn the basics of how to blend alcohol markers!
Understanding basic alcohol marker blending techniques is really helpful before you jump into this detailed portrait tutorial. If you’re not familiar with the process of blending 3 or more colors together, then the instructions below might be kind of confusing to you. If you want in-depth step-by-step instruction about alcohol marker techniques, check out my Ultimate Guide to Using Alcohol Markers for detailed video lessons!
Quick Overview
Here’s an animated GIF to give you a quick overview of the steps we’ll take to color in this illustration:
Arrtx Markers - Colors Used
Click on the color chart to view a larger version!
Here’s a color chart of all the Arrtx Alp markers that I used in this whimsical alcohol marker portrait tutorial.
Arrtx markers are only available in sets. This tutorial uses markers from all three of their Arrtx Alp marker sets: the 80-marker set, the 90-marker set, and the 36 skin-tone set (Amazon affiliate links).
In the color chart, I’ve listed the set where that particular color can be found.
Click here to read my detailed review about Arrtx Alp alcohol markers, and find out why I highly recommend them for beginners who are interested in fine bullet-tip alcohol markers!
If you don’t have Arrtx Alp markers, you can still follow along with this tutorial by matching the colors shown here to the colors that you have on hand using whatever brand you own. 😊
You can also feel free to come up with your own color schemes and blending groups!
The colors are listed here in the order in which they first appear in this alcohol marker tutorial.
Let’s begin!
Step 1
Let’s start by coloring in the centers of the big flowers. Then, we’ll color in the face.
Flower Centers
Use 25 as a base layer to color in the centers of the big flowers
Use 37 to create a subtle sense of shading. The shading is so subtle that it’s kind of hard to see in the scan above—sorry about that! Don’t fret about this step too much though, just do your best. 😊
Face
Now let’s color in the face!
Start with a base layer of our lightest color, 314.
Blend in 305 and 306 to start creating a sense of dimension.
Blend in 309 to add more warmth to the face and to smooth out any transitions as needed.
Use 319 to add a blush effect to her cheeks.
Create shadows using 328 and 327. Focus on these areas:
underneath her glasses
where her forehead meets her hairline
top of the nose
her philtrum (the little groove between the base of the nose and the top of the upper lip)
her neck
Lips
Color in her lips with a base layer of 302.
You can leave a tiny bit uncolored, as I did on the top of her bottom lip, to create a highlight. Alternatively, you can add this highlight later, using a white gel pen, paint pen or colored pencil.
Add shading to her lips using 307.
Step 2
Let’s color in the petals of the big flowers!
Flower Petals
To color in the flower petals, you can choose whether you want to go from light to dark or dark to light—it’s up to you!
Below, I’ll describe the process of going from light to dark.
Color in the petals using 136.
Use 198 to add some shading, to create a sense of depth and dimension. For example, add 198 near where the petals touch the centers of the flowers.
Also use 198 to trace over the short black lines on the petals, to create a sense of texture.
Use your previous color, 136, to soften out the hard edges and blend the two colors together.
Use 6 to add more shading. Use your previous colors to smooth out the blends.
Add a final layer of shading using 86 in the areas that you want to be the darkest. If needed, use your previous colors to smooth out the blends.
Flower Centers
Use 122 and 23 to color in the centers of the flowers (inside the yellow parts, as well as the little circles surrounding the yellow parts).
Step 3
It’s time to color in the background!

This part is pretty easy! It’s just a little time-consuming, but the result looks quite whimsical! 😊
Draw lots of circles in the background using 143. Vary the sizes of the circles so that some are bigger and some are smaller, as you see here.
Use 67 to carefully color in around those circles.
No need to blend!
Step 4
Let’s color in more flowers!
Use these 4 colors to color in the 7 yellow-orange flowers above. As before, you can choose whether you prefer to color from dark to light, or light to dark. Below I’ll provide instructions for coloring from light to dark.
Color in the petals using 25.
Use 37 to add shading to the petals. Also use 37 to draw over the short black lines, to create a sense of texture on the petals.
Use 25 to soften out the blend.
Add more shading with 33 and 24, and use your previous colors to smooth out the blends.
Step 5
Next we’ll color in some yellow flowers!
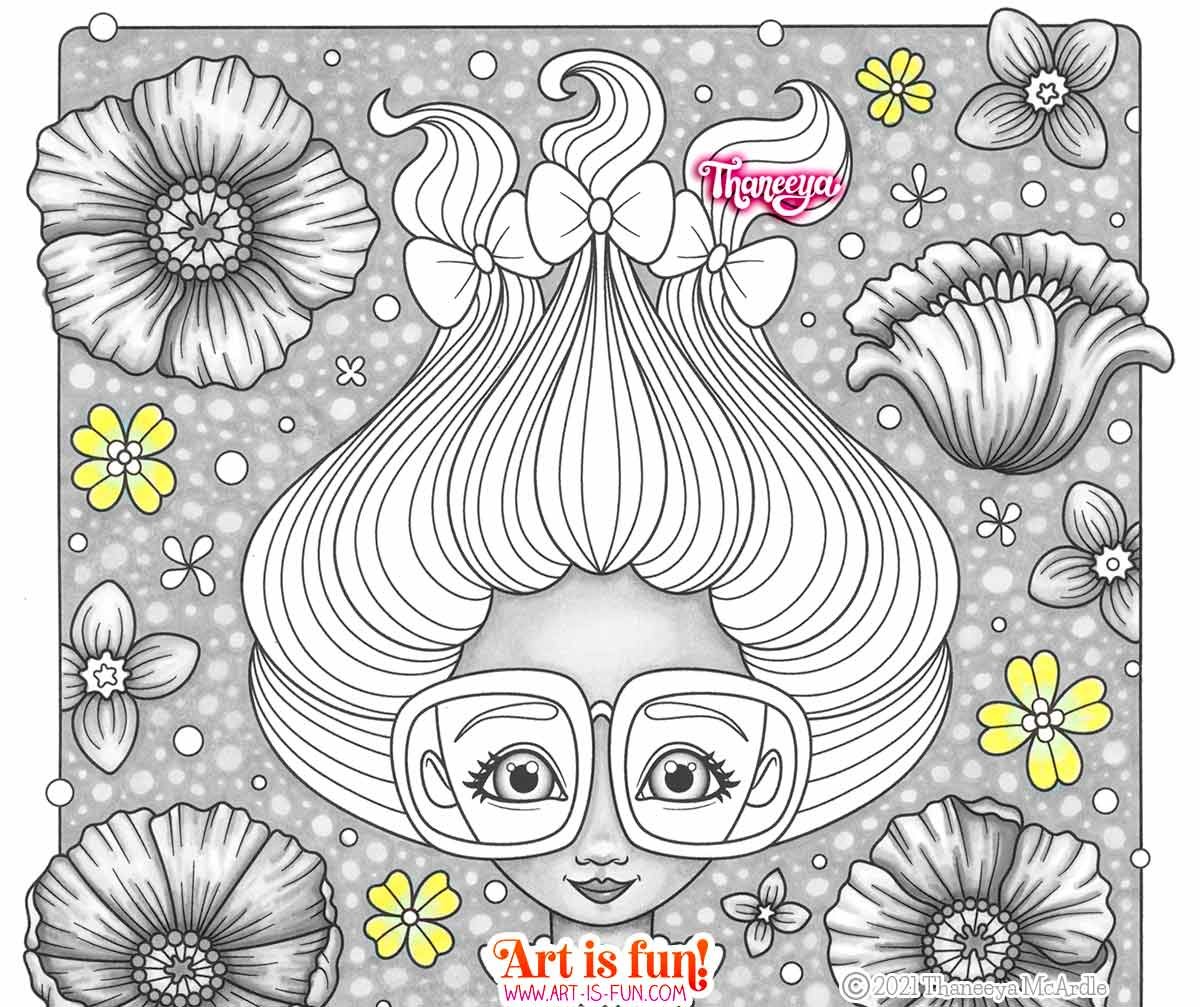
To make it easier for you to see which flowers we’re working on, I’ve grayed out the rest of the image above.
Use 174 to color the inner portions of the petals, near the flowers’ centers.
Use 38 to blend the inner section towards the ends of the petals
Use 45 on the very ends of the petals.
Step 6
Let’s finish up those flowers by coloring in the centers!
Light Yellow Flowers
Use 22 in the very centers.
Use 24 to fill in the small petal shapes.
No blending necessary, since these are such tiny spaces.
Yellow-Orange Flowers
Use 45 in the very centers.
Use 6 and 86 in the areas just outside the centers.
Step 7
Let’s color in her hair!

We’ll use two different blends to color in her hair, starting with this pink-magenta blend.
Notice how the highlights and shading in the example above create a sense of volumunous dimension in her hair.
Blending to white creates a dramatic, eye-catching contrast to the colored parts of the hair. I recommend blending from light to dark, because that will make it easier to retain consistency in your placement of the white highlight.
Take note of the white highlight above. The white is the blank of the paper showing through.
Use 136 just above and below the areas that you will leave white. Use a Colorless Blender to blend 136 into the white of the paper.
Add your next color, 198, to either side of the previous color. Use your previous color (136) to smooth out the blend.
Carry on with the remaining colors, following the example above.
Use your darkest colors, 85 and 81, at the ends of the hair strands, to create more dimension.
Optional: Use 2 to create even more shading.
If any of this is confusing to you, I’ve included a lesson in my Ultimate Guide to Using Alcohol Markers that demonstrates the process of blending to white in order to create dramatic effects like this.
Step 8
Let’s finish her hair!

Now we’ll use a yellow-orange blend to color in the remaining strands of hair.
Take note of the placement of the white “blank” area. Try to make your yellow-orange blends match in placement as best you can.
Use 25 above and below the area that you’re leaving white. Use the Colorless Blender to blend 25 into the white of the paper.
Blend your remaining colors, 37, 33, 24 and 22. Use your darkest color, 22, at the ends of the hair.
Step 9
Let’s color in her hair bows!
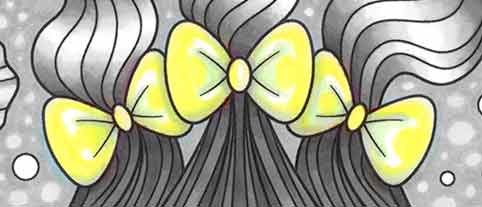
Use 174 along the inner creases of the bows, as well as the bottoms of the bows.
Color in the rest of the bows using 45. You can opt to leave some areas white to create a sense of shine, as I did in the example above.
Use CG2 and CG3 to create shading near the centers of the bows, as well as along the bottoms, and the sides where the center bow overlaps the other two.
Step 10
Let’s color in her eyes!

The printable line art includes subtle gray shading inside her irises, so we don’t have to worry about creating shading.
To color in her eyes, I created a gradient that goes sideways (left to right), but if you want, you can choose to create a radial gradient or a gradient from top to bottom. Here’s what I did:
Use 67 on the far left side of her left eye, and the far right side of her right eye.
Use 59 on the inner sections of both eyes (the parts of her eyes nearest her nose).
Use 172 in between these colors, to smooth out the transition.
Step 11
Now let’s color in her glasses, as well as her face and hair that appear behind her glasses!

We’ll be coloring in her glasses, as well as everything that appears behind her glasses: her eyebrows, skin and hair.
Glasses
Color in the glasses using 45.
Optional: use 174 along the bottom edge of the glasses to create a subtle variation in color.
Eyebrows
Color in her eyebrows using 6.
Use 86 to create subtle shading at both ends of her eyebrows.
Skin (Face + Ears)
Use 314 on the sections of her face above and below her irises. If you look carefully at the example image, you’ll see that this section is a “skin tone” color, while the rest of the areas underneath her glasses have a pinkish/purplish tinge.
Use 314 to color in the tops of her ears.
Use 196 or 147 to color in the remaining areas of the face. Use your previous color, 314, to smooth out the transition between the colors.
Use 88 in the darkest parts of her ears.
Use 88 to create a shadow underneath where the sides of her glasses rest upon her face. You can also continue this shadow along the sides of her face.
If needed, use your previous colors to smooth out the areas of color transition.
Step 12
Let’s color in the frilly part of her shirt!
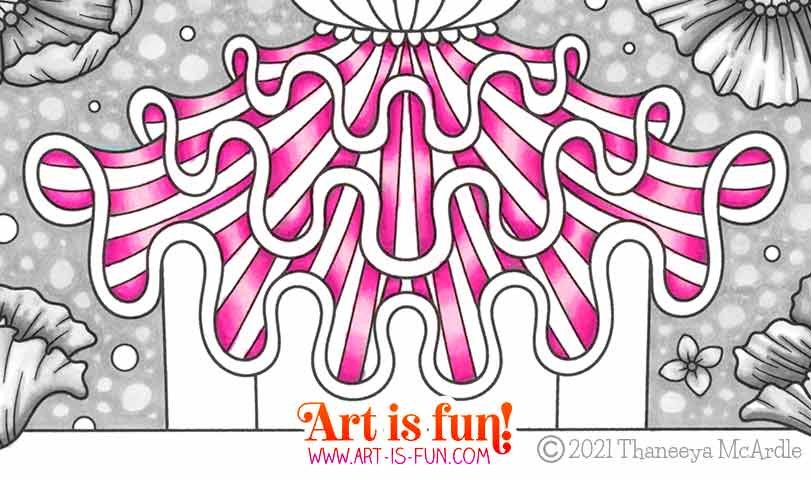
We’ll be using most of the same colors that we used for her hair.
Fill in the alternating stripes using 136, as shown above.
Apply 198 above and below the areas that you colored in with 136.
Use 136 to smooth out the blend.
Add your next color, 6, above and below the previous color. Use your previous color to smooth out the blend.
Carry on with the remaining colors listed here. Use the darkest colors at the tops and bottoms of the stripes.
Note that some of the stripes are long, while others are short. For the short stripes, you won’t be able to use as many colors, so adjust accordingly.
Step 13
Let’s work more on the shirt!

We’ll color in the top of the collar and the wavy frilly ends.
Collar
Color in the top part of the collar using 25.
Create some shading using 37.
Use 25 to blend the two colors together.
Use your next color, 33, to deepen the shadow areas.
Use your previous colors to smooth out the blends.
Use 22 to color in the darkest parts of the collar.
Use 24 to smooth out the blends.
Note that these areas are quite small, so you won’t be able to use all five of these colors in each area. You can omit either 33 or 24 since they are rather similar. In the smallest areas at the back of the collar, you’ll probably only use three colors.
Wavy Frilly Ends
Color in these three wavy sections using 45.
Use 59 to add some shadows, as you see in the example above.
Smooth out the transition between the two colors using 174.
Step 14
Let’s complete the frilly section of her blouse!
Color the remaining stripes in the frilly part of her blouse using 25.
Add shading with 37, and use 25 to blend the two colors together.
Blend in the remaining colors, 33, 24 and 22.
Some areas are quite small, so you won’t be able to fit in all these colors, and that’s totally fine. In those cases, just use your light, medium and dark color, and leave out the two extra colors.
Step 15
Now we’ll finish the rest of the shirt!
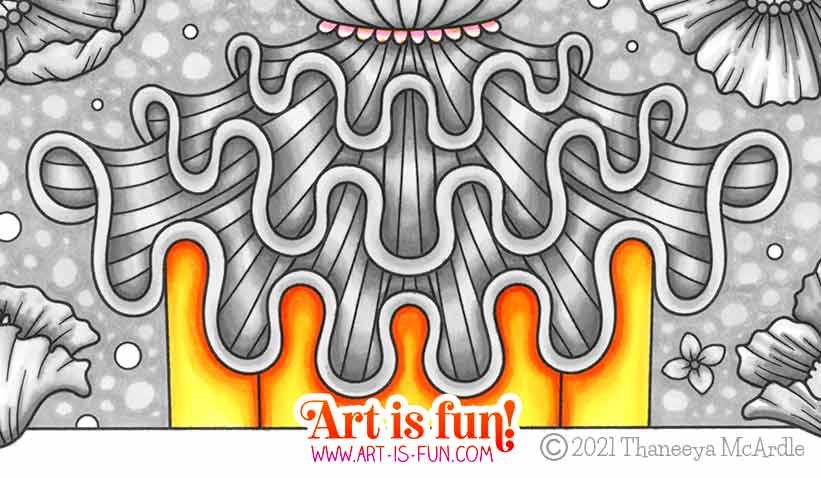
We’ll color in the bottom part of the shirt, as well as the small shapes underneath the collar.
Color in the bottom part of the shirt with 45.
Use 37 to add shading along the edges of the sleeves and the body of the shirt. Smooth it out with 45.
Use the remaining colors, 33, 24 and 22, to create additional shading. Blend them in with the previous colors to create smooth transitions of color.
For the small shapes underneath the collar, simply draw a line across the shapes using 319. No need to blend it in.
Step 16
We’re almost done!
Are you excited?! 😍

Now let’s color in the circles in the background!
Use 63 and 65 to color in the circles. These colors are quite similar, so it doesn’t match which color you put where. You could choose to just use one of them, if you want.
Step 17
And now for the finishing touches!

Only two small tasks to do, and then this whimsical alcohol marker portrait is complete!
Use 198 and 6 to add some warmth and color to her lips.
Since these are quite small areas, you only need to add a quick touch of color.
Use 63 to outline her entire body. This helps her pop a bit more from the background!
The great thing about bullet-nib alcohol markers is that because their nib shape, it’s super-easy to create outlines with a consistent line width!
Congratulations!
You’re all finished!!
I hope you enjoyed this alcohol marker portrait tutorial and learned a lot in the process! It was my pleasure to be your guide and walk you through the steps of this whimsical alcohol marker portrait lesson. 😊
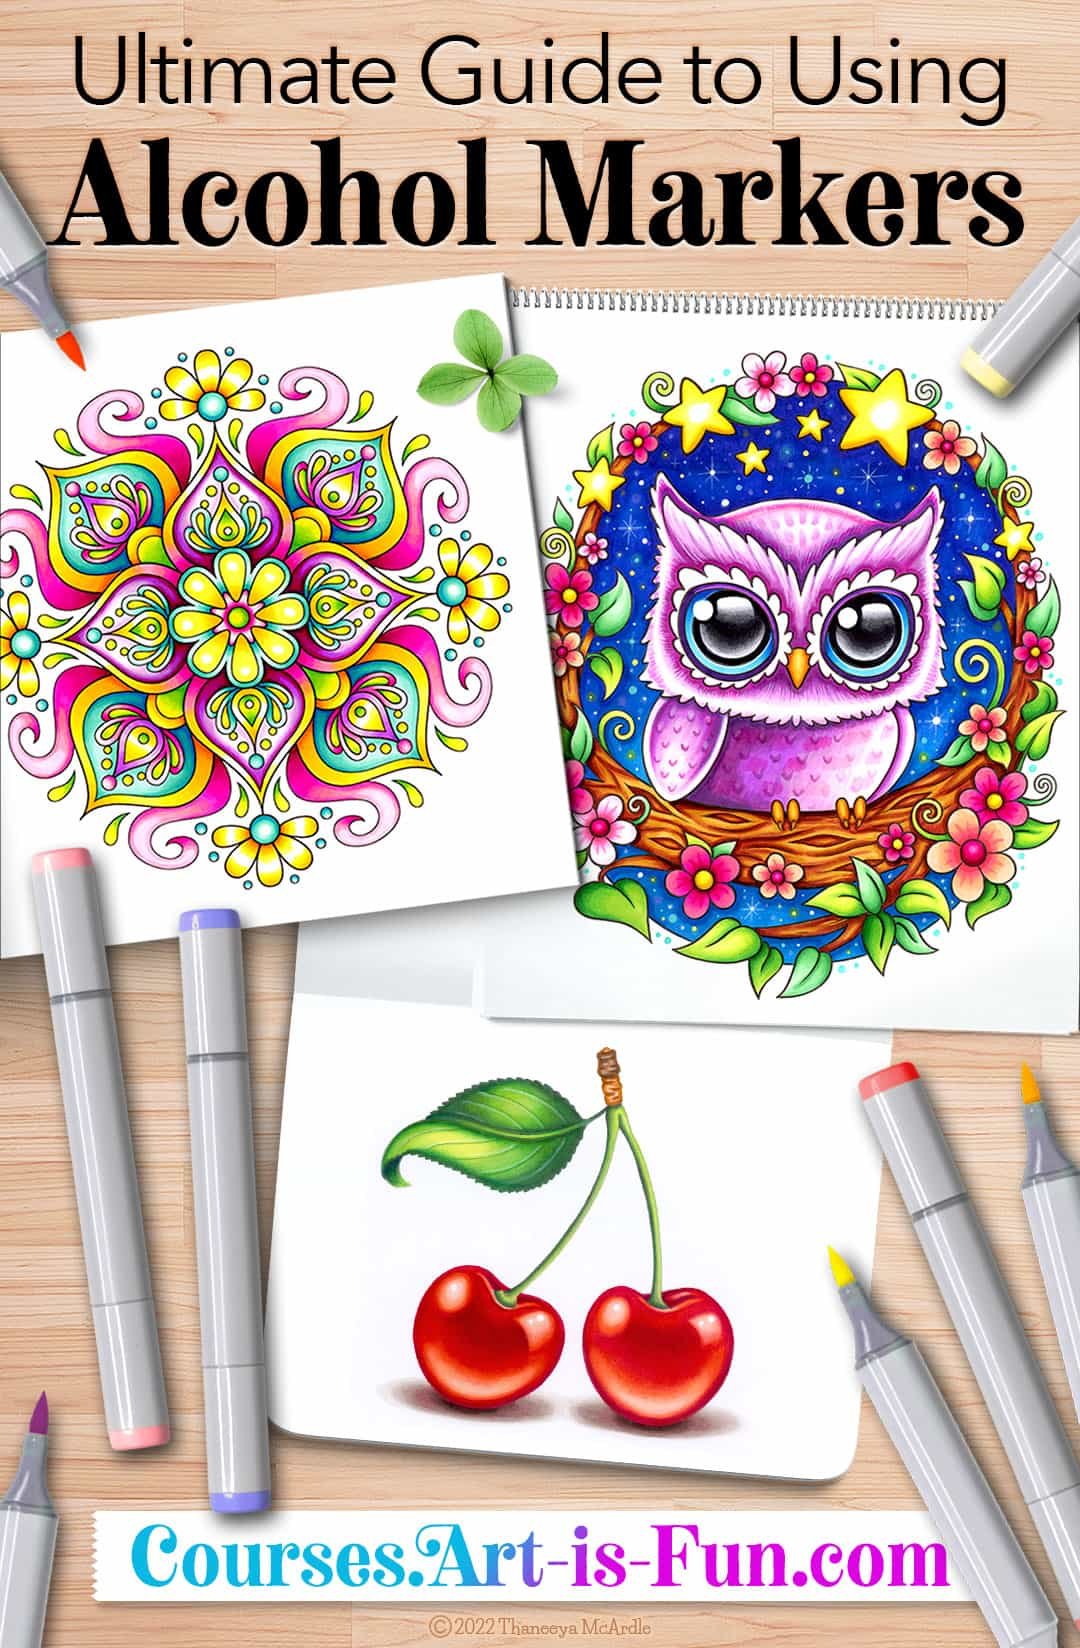
Ultimate Guide to Using Alcohol Markers
If you’d like to keep learning more, check out my Ultimate Guide to Using Alcohol Markers, an in-depth video course that’s designed to take you from a complete beginner level to an advanced level! 😍
In addition to multiple lessons on blending technique and blending theory, I’ll walk you step-by-step through the process of creating the three works of art that you see below! Color swatches and color names are included, so you can print out the line art and follow along at home, at your own pace!
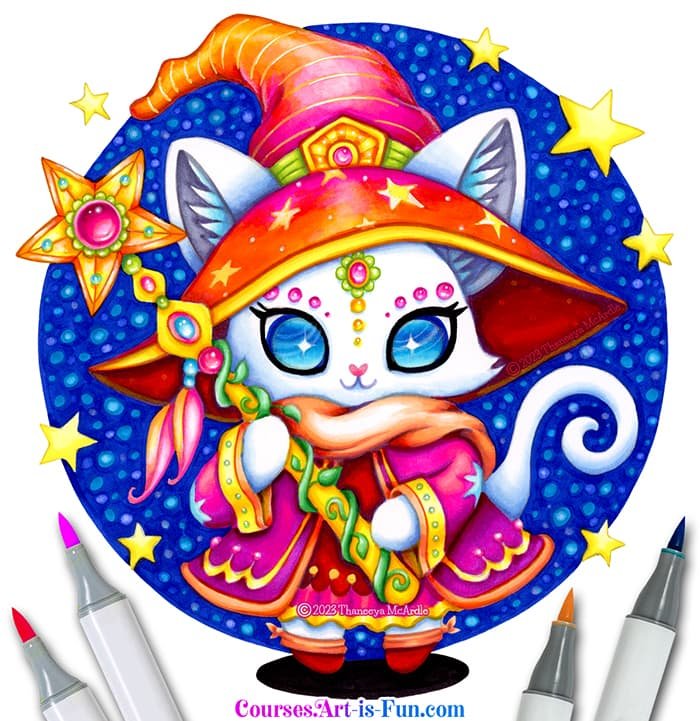
Color this adorable cat!
Join me as I demonstrate how to color in the cute cat below! In my Wizard Cat Alcohol Markers Course, you can print out the line art and follow along step-by-step from the comfort of your home, and color along with me at your own pace! 💖
Keep learning…
Check out more alcohol marker tutorials!
Read my detailed reviews about different alcohol marker brands.
See a gallery of alcohol marker art and get inspired!
Sign up for my free alcohol markers course!
Go back to the main alcohol markers Table of Contents.
Learn how to draw realism with alcohol markers as I demonstrate the techniques I used to draw the owl below!