Reference Photos for Photorealism Painting
This is Page 5 of a 15-page guide explaining how to paint photorealistically.
It goes without saying that for a photorealist painting, you'll need a good reference photo to work from. This page will provide you with tips about taking reference photos as well as how to use them when you are working.
If you're setting up a still life arrangement, take a ton of reference photos of the set-up from many different angles, even angles that are similar but minutely different. It's hard to tell from the screen of a digital camera how the resulting picture will really look. So take at least 1-2 dozen photos. This is important! When you look at them later on your computer screen, the subtle differences between the reference photos will be more noticeable. You'll be able to see the things that work, and the elements that didn't. At least one of the compositions will jump out at you as The One. If not, retake the photos! Don't settle for using a photo that you only feel half-confident about or half-interested in. There's no point in spending a lot of time on a photorealist painting if the picture isn't exactly as you want it.
Another tip: photograph objects that interest you. I paint cupcakes, candy, toys and currency because these images appeal to me on a visual level. I like the levels of detail necessary to recreate a dollar bill or the tiny lettering on a candy wrapper. Choose objects that appeal to you, because you will be spending a lot of time staring at those objects!
Whatever photo you choose, make sure it is absolutely crisp and clear. This is important, since your task will be to replicate the photo, and most photorealist paintings have a strong sense of clarity and focus. Although if you want, you can plan to work with an out-of-focus, pixelated or fuzzy image. This is actually another possibility, since replicating all the elements of a reference photo is the essential focus of photorealist painting. It's up to you!
I recommend getting a good, glossy print of the photo at the exact size that your painting will be. For instance, don't use a tiny 4" x 6" print if your painting will be 16" x 20". You'll need the same size print so that you can see the exact amount of detail that you'll need to recreate on the canvas. These days you can get large poster-size reference photos printed at affordable prices and they are well-worth the cost for painting photorealistically.
You should hang this print next to your canvas, or even behind it, with only the portion you are currently working on poking out. See the example below. In this case, this set-up would be ideal for working on the images in the top part of the painting. When you are done working on this section, move the painting and/or photo so that you can easily see a different part of the photo. Don't worry about poking tiny thumbtack holes in the reference photo - just put the thumbtacks in an area where there is not a lot of visual information.

If working on a large scale, you may want to print a few small (4" x 6") close-up photos of your photograph, so that you can tape these to your canvas as you work on certain parts of the painting. (See picture below.) Be sure to use artist tape that is specifically meant for such use. The tape is often blue, archival and peels off easily without leaving any residue.
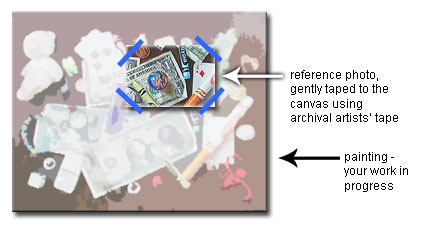
In the example above, the small photo, which is exactly to scale, is gently taped to the surface of the painting right above the section to be worked on. I repeat: be sure to use archival artists' tape for this, because it is acid-free and peels off easily without leaving any residue. Do not use regular masking tape!
You will also need a paper photocopy or inkjet paper print of the image. The size of this print depends on how you plan to transfer the image onto your work surface, which we'll cover in the Part 2 of the Step-by-Step Guide to Painting Photorealistically: Transferring the Photo
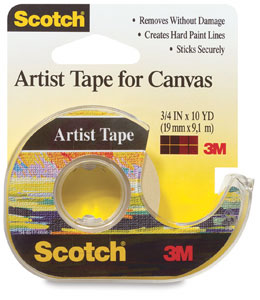
3M Scotch Artist Tape for Canvas
If you make a purchase via the Blick links below I receive a small commission, at no extra cost to you. See my Disclosure Statement to learn more.
3M Scotch Artist Tape adheres strongly to your work surface, yet removes easily and cleanly, leaving no residue behind. Ideal for temporarily taping reference photos to the surface of your canvas or panel while you work!
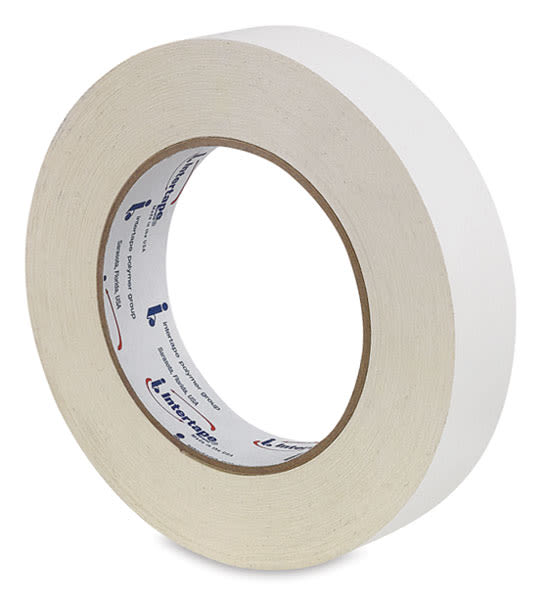
Artist Tape
Artist Tape is a good, strong tape that won't harden or leave behind any adhesive residue. Don't leave it on forever though - take it off after 10-14 days. This is the tape I use most frequently.

Read More
Read a current and historical overview of Photorealist painting techniques and methods. It is beneficial to familarize yourself with this information before you embark on your own journey to create photorealistic paintings.
Familiarize yourself with the Photorealist art movement by reading my overview of Photorealism.
The books below are available on Amazon. As an Amazon Associate I earn from qualifying purchases.

Hyper Real: The Passion of the Real in Painting and Photography
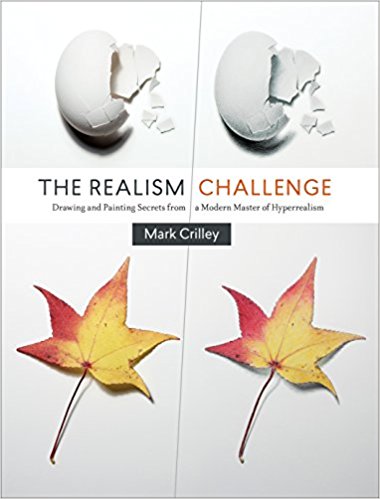
The Realism Challenge: Drawing and Painting Secrets from a Modern Master of Hyperrealism

Super Realism


