Art Supplies for Photorealism Painting
This is Page 6 of a 15-page guide explaining how to paint photorealistically.
So here we are, almost done going through the list of art supplies you will need to create your fabulous photorealist paintings. We've already discussed acrylic paints, acrylic mediums, paintbrushes, surfaces, and the all-important reference photo. What's left?
On this page we'll discuss the last few essential art supplies that you cannot do without whilst painting photorealistically: a glass of water, palette, spray bottle, rags/paper towels, and when you're all done with all that... varnish!
Palettes
I've provided links below to the relevant products so that you can easily find them on Amazon. If you make a purchase, I'll receive a small commission (at no extra cost to you), which helps support this site.
Your palette is important, as you will need to do a lot of color mixing. There are many types of palettes available these days:
Each type of palette has its own characteristics, and every artist will have different preferences for which one they like best. It's crucial that you use a palette that works for you, so I've compiled this guide to all the different palettes you can use with acrylics!
I use a clear palette that is made of safety glass. If it shatters, the shards won't scatter everywhere - it will just kind of crumble in on itself. (I know from experience from dropping it too hard in the sink - it cracked all over, but somehow stayed in one piece. If it was glass, it would have been a real pain to clean up - not to mention a real safety hazard!)
Because the palette is clear, I keep a piece of white paper or mat board underneath the palette. It's easier to mix colors when the background color is white, as it allows you to see what you're doing better. I highly recommend safety glass palettes because they are not only safe, they are also very easy to clean, even when the acrylic has dried on the palette.
Safety Glass Artist's Palette

When painting with acrylics, I use a safety glass palette as the surface upon which I mix my colors. The palette sits next to me on a table (as opposed to the being held). These types of palettes are really smooth and super-easy to clean. Dried paint comes off really easily. And the best thing about it - it's safe! If it breaks, the glass won't shatter everywhere. I don't know the mechanics involved - I just know that this is my absolute favorite type of palette!
Spray Bottle
Acrylics dry out very quickly. To prevent them from drying out on your palette, always keep a small spray bottle/mister on hand. I always give my palette a healthy squirt of mist every few minutes to keep them from hardening. This is essential when you have mixed that mysteriously perfect combination of colors to get that one certain hue. Keep it alive by keeping it wet!
You can usually get cheap spray bottles at the dollar store, but these are usually intended for spraying water on plants or filling with cleaning products. The little spray bottle that I use is actually called an Atomizer Bottle (affiliate link).
I keep this little bottle filled with water, and spray my palette every so often to keep the acrylic paints moist. This bottle is awesome - it creates a fine mist that makes a nice even spray over the palette. This is much better than the cheap spray bottles you can get at the Dollar Store, which are better for squirting rather than spraying! These atomizer bottles are inexpensive, so I consider them a must-have for acrylic painters.
Glass of Water
It's recommended that you use a clear glass or jar of water for use with acrylic painting, rather than an opaque cup or jar. This allows you to see how clean or dirty your water is. When the water gets too dirty, it's best to change the water and replace it with a fresh, clean supply. Otherwise, if there's too much pigment or residue floating around in your cup of water, it might affect the colors that you are trying to mix.
Rags/Paper Towels
It is inevitable that you will have an "oops" moment or two (probably more!) whilst painting. Therefore, rags and/or paper towels are essential! I keep an old t-shirt nailed to the wall next to my work area, so I can easily reach over and wipe off any excess paint from the brush. It's also handy for absorbing extra water from the brush, after the brush has been swished in water.
Varnish
When you finish your masterpiece, it is essential to varnish the final painting. The varnish provides a much-needed protective layer, making the surface of the painting resistant to dirt and dust. Varnish protects the painting from fading, yellowing, scratching, moisture, humidity, heat and UV light. Plus the painting is much easier to clean if need be - you can gently wipe the surface with a damp cloth.
Additionally, on a purely aesthetic level, photorealistic acrylic paintings look much better when they are varnished. They are beautiful to begin with, but that final layer of varnish just adds that extra "something special". It somehow pulls the entire painting together. Once you try it, you'll see what I mean!
It's best to apply the varnish with a flat brush. I use a brush with long, flat and flexible bristles, so be sure to have one of those on hand. The brush I use for varnishing is set aside only for use with varnish - I never use it to paint with because I want to keep the hairs nice, clean and straight (as opposed to worn out and crusty from overuse with acrylics). You can read about the brands I use for the varnish and varnish brush below.
Golden Waterborne Varnish
This is the brand varnish that I use, and I love it. Golden Waterborne Varnish with UVLS (UltraViolet Light Stabilizers) forms a protective, flexible, dust-resistant surface, and it is applied as a final sealant over acrylic paint.
You will need to thin the varnish with water before using it. What I do is squeeze out a bit of the varnish into a clear cup or glass, then slowly add a tiny trickle of water. Then I swish the varnish and water together using a paintbrush. Golden Waterborne Varnishes are removable with ammonia, if you would need to restore your painting for any reason.

Varnish Brush
This is the brush I mainly use for varnishing. Depending on the size of your paintings you might want to choose a different brush size. In general I recommend flat brushes for varnishing, although a filbert could also do the job.


Read More
Read a current and historical overview of Photorealist painting techniques and methods. It is beneficial to familarize yourself with this information before you embark on your own journey to create photorealistic paintings.
Familiarize yourself with the Photorealist art movement by reading my overview of Photorealism.
The books below are available on Amazon. As an Amazon Associate I earn from qualifying purchases.

Hyperrealist Art Today
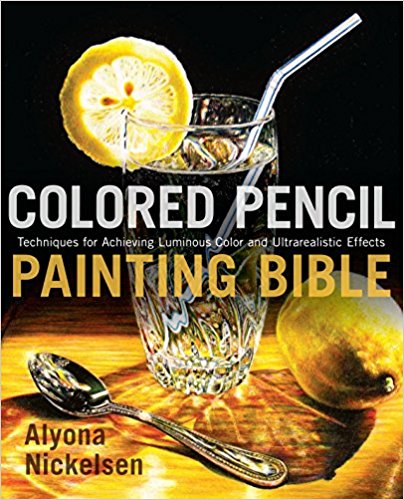
Colored Pencil Painting Bible
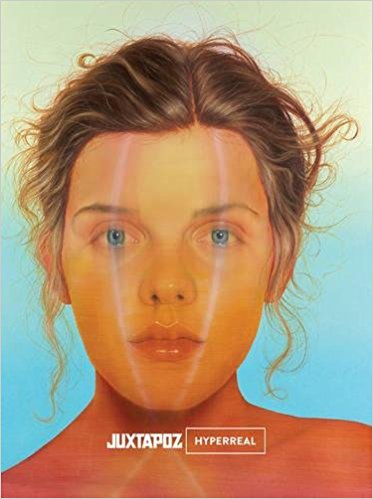
Juxtapoz Hyperreal


