Draw Realism with Alcohol Markers
Drawing realism with alcohol markers is a fun and rewarding process when you know the right techniques!
In this demo, I’ll explain how to use the concepts of glazing and underpainting to create realistic alcohol marker art, just like this:

For this demo, I’ll draw a realistic owl from scratch using Copic Sketch Markers in a Copic Paper Selections Sketchbook (affiliate link). The paper in this Copic Sketchbook is absolutely wonderful for drawing realism! It's perfect for glazing and underpainting techniques, and allows alcohol markers to blend extremely well.
For my reference image, I've chosen this photo of a Ural owl from Pexels.
If you’d like a more detailed explanation of my alcohol marker process, I highly recommend you watch my Realistic Owl Alcohol Marker Video, where you can see the artwork unfold from start to finish as I narrate my techniques. The video goes much more in-depth than this article, so I definitely check it out if you want to better understand what I’m doing and why! In the video, you can also see a list of the exact Copic colors that I used for this realistic owl drawing, in case you want to try it yourself. 😃

If you enjoyed this video, be sure to subscribe to my channel so that you never miss a thing! 😍
Let’s begin!
Step 1
Sketch with alcohol markers
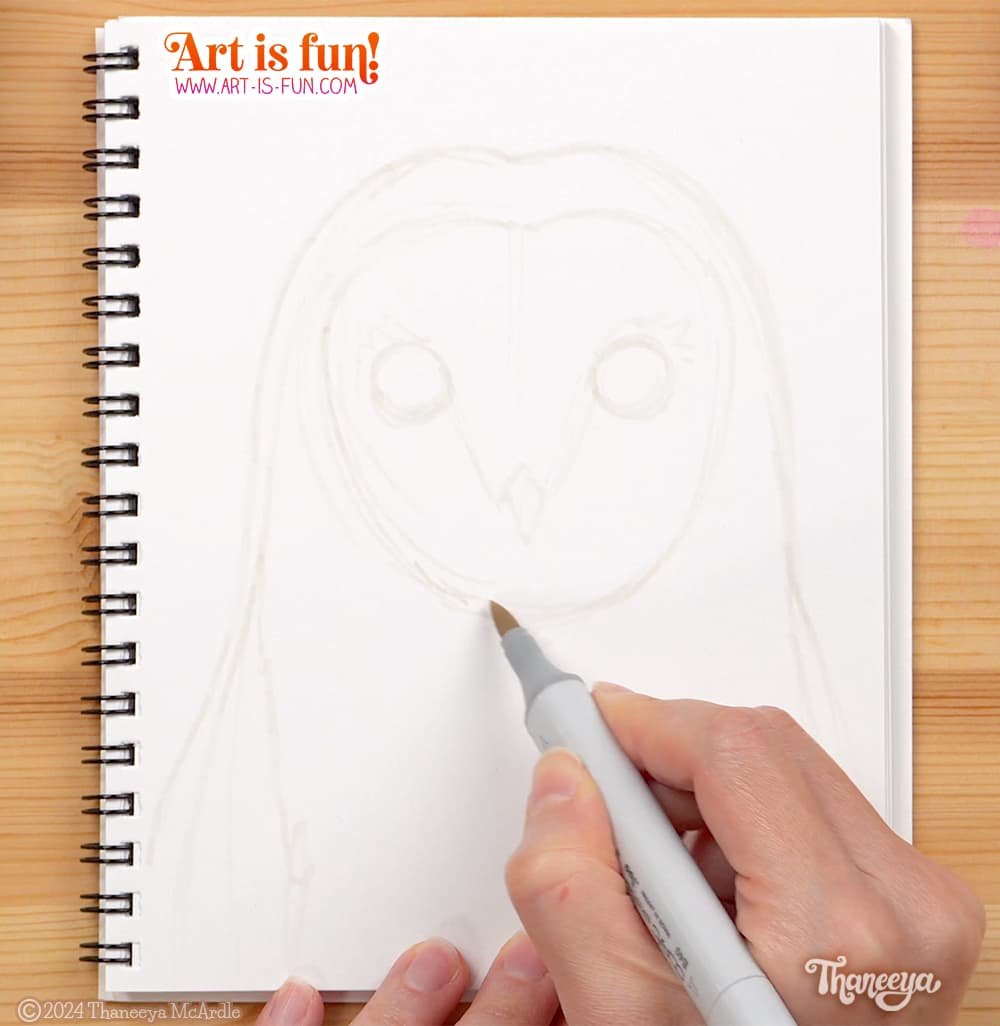
For this demo, I didn’t create a pencil sketch first, as I usually do. Instead, I challenged myself to jump right in with alcohol markers to create my underlying sketch.
Sketching with alcohol markers can be scary, because you can’t erase alcohol markers like you can erase pencil marks. So I chose a really light, pale Copic color (E40, shown above) and sketched in the basic shape of the owl and its main identifying features.
Step 2
Establish your values with an underpainting

After sketching in the initial outline, the next step is create an underpainting to establish your values. Your goal is to look for the darkest areas on your reference image and block them in using a neutral tone.
To create my underpainting, I applied an initial layer of B63 (shown above), and then used B60 to blend from B63 into the white of the paper.
If you’re not sure which colors to use for your underpainting, you generally can’t go wrong with muted blues, blue-violets, violets, or red-violets. You could also use grays, but generally, I like to create alcohol marker underpaintings using colors that are mostly desaturated but not so desaturated that they’re gray. I think having a hint of color in the underpainting helps add some visual interest to the artwork.
(If any of this sounds confusing to you, check out my Ultimate Guide to Using Alcohol Markers, which contains several lessons about blending, plus an entire lesson devoted to underpainting!)
If you want, you can create your entire underpainting at this stage, but for now I decided to just focus on the face, the area under the chin, and the wings.
Step 3
Add color

Next it’s time to add color on top of your underpainting. You’ll apply this color directly on top of your underpainting. This process is technically called “overpainting”!
I wanted to start establishing the main colors of the owl, so I used colors such as E23, E21 and E13 to blend from the shadow areas to the lighter areas.
You can watch this process in my video! It’s a lot easier to understand this process if you see it in action rather than read about it, so if you have time, you’ll definitely want to take a look. 😃
Step 4
Continue the Underpainting

After adding some local colors to the owl’s face, eyes, and sides of the head, I continued the underpainting process on the owl’s body.
Once again I used B63 to sketch in a feather texture, using flicking motions with my brush nib. I didn’t aim to copy the reference photo precisely, as that would have been way too tedious. Instead, I used the reference image as a general guide for where to place the feather textures and what size and shape to make them.
After sketching in chest feathers with B63, I used B60 to soften up the hard edges.
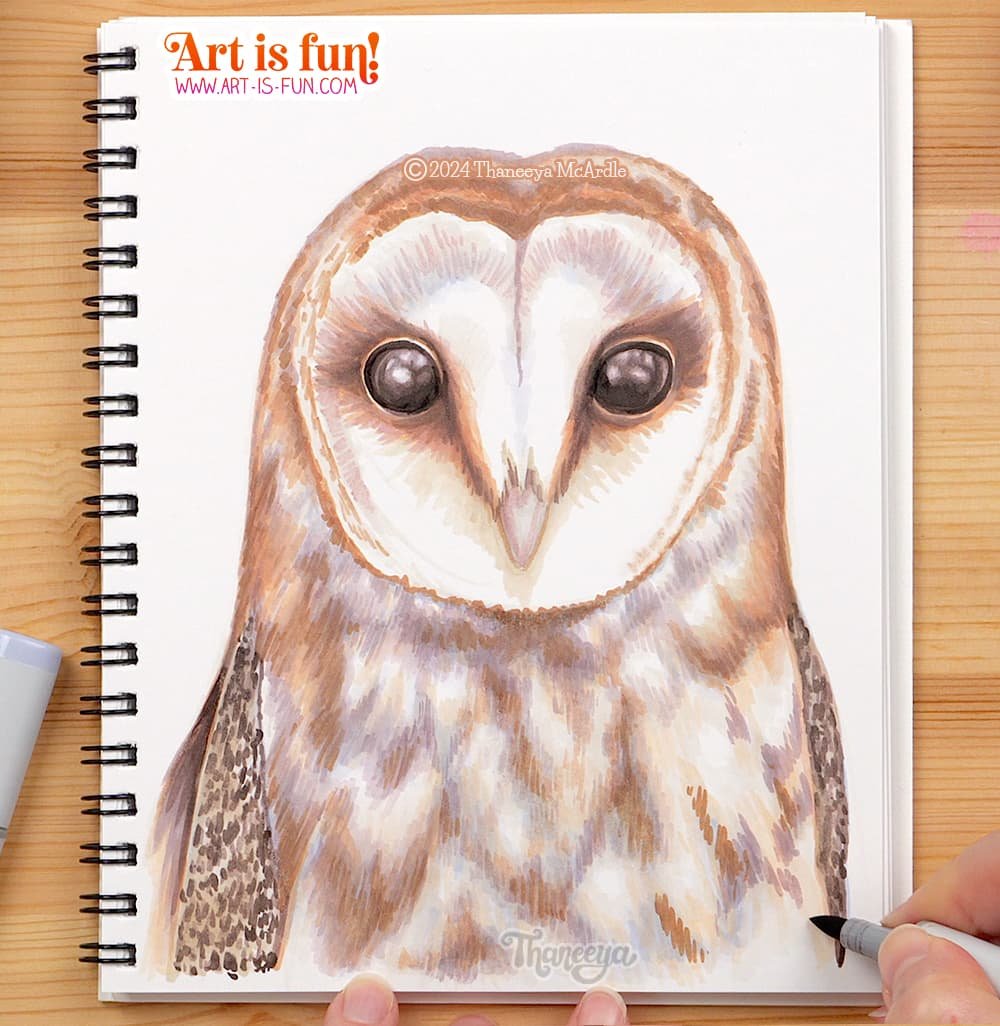
Step 5
Glazing

After I finished the underpainting on the owl’s chest, I overpainted using a few different earth colors. (These colors look like “browns” and “tans” but I’m referring to them here as “earth” colors because they all start with E, which makes them “earth” colors in Copic’s color naming system.)
Compare this image with the previous image to see how the earth colors changed the blue colors underneath!
Alcohol markers are transparent, so when you layer colors on top of a previous layer, the colors underneath will show through. This is called glazing, which is a technique used in many different media, such as oils, watercolors and even colored pencils. The colors you add on top slightly alter the colors underneath, creating a gorgeous visual depth and complexity.
Even at this early stage, you can already see how these underpainting and glazing techniques are beginning to create a dynamic sense of dimension in this realistic artwork!
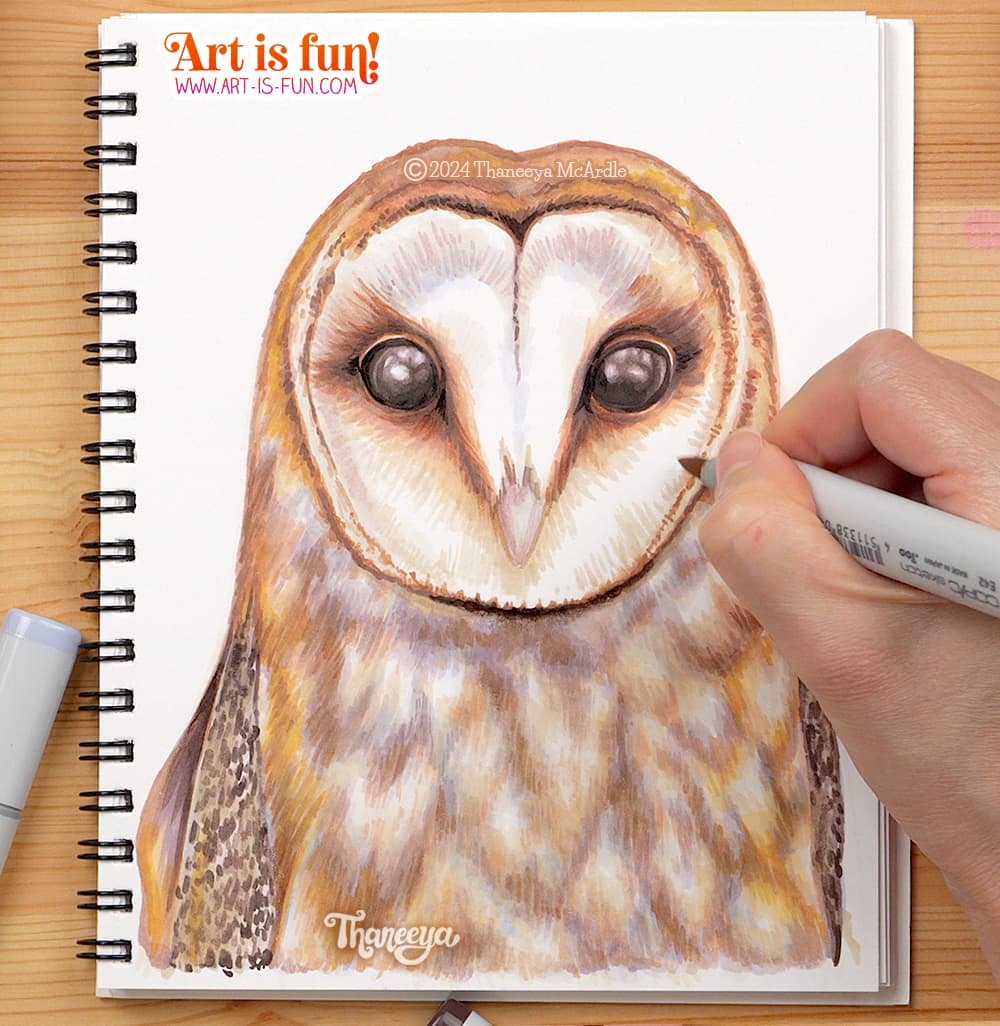
Step 6
Add more details and shading

With the basic shape and underpainting of the owl now complete, the goal is to continue refining the artwork by adding more details and shading.
Here I’ve added more details to the wings and deepened the shadows on the face, particularly around the eyes.
At this stage I’m jumping around the artwork, refining areas here and there. I don’t focus too long on any one particular area, because I want the entire artwork to develop at (more or less) the same time.
Step 7
Create more feather texture
Now I focus again on the chest, this time adding darker earth colors to enhance the appearance of a feathery texture. I continue making short strokes using a quick flicking motion.
Step 8
Refine details
Almost done!
Now I’m in the final stages of tightening up the artwork by focusing on the details.
I use darker browns to add more shading to the eyes, around the eyes, under the chin, and near the top of the feathery area that frames the owl’s face. I use these darker browns very sparingly because I don’t want to overdo it. Subtlety is important part of creating realism (whether with alcohol markers or any other medium).
And now the alcohol marker portion of this drawing is complete! 😍
At this stage, I could call this artwork totally done, if I wanted to. But there are some details I can add using extra media, so I’ll carry on…
Step 9
Add highlights with white colored pencil

I use a white Prismacolor colored pencil to add the small white tufts of feathers at the very top of the owl’s head. I also outline the feathers that frame the top part of the owl’s face.
Notice that the white colored pencil is not fully opaque on top of the alcohol marker layers, which means that some of the colors beneath show through. This is ideal for creating subtle effects on top of the alcohol marker artwork.
Step 10
Add darker details

Next I use a Dark Umber Prismacolor colored pencil to add some darker details at the top of the owl’s head, as well as on the owl’s chest. I’m careful to make these dark spots look organic, so I slightly vary the size and shape of each spot. I use my reference image as a guide for where to place the dark spots, but I don’t follow the reference image precisely.
Step 11
Add paint pen details

The final step in creating this realistic owl drawing is to use a white paint pen to add some subtle details on top!
As an Amazon Associate, I earn from qualifying purchases at no additional cost to you.
I’m using a white Posca paint pen for this (extra-fine bullet nib, also referred to as PC-1M). If you don’t have paint pens, you could also use an opaque white gel pen for this. I highly recommend Sakura Gelly Roll or Uniball Signo.
All done!
Here’s the finished owl:
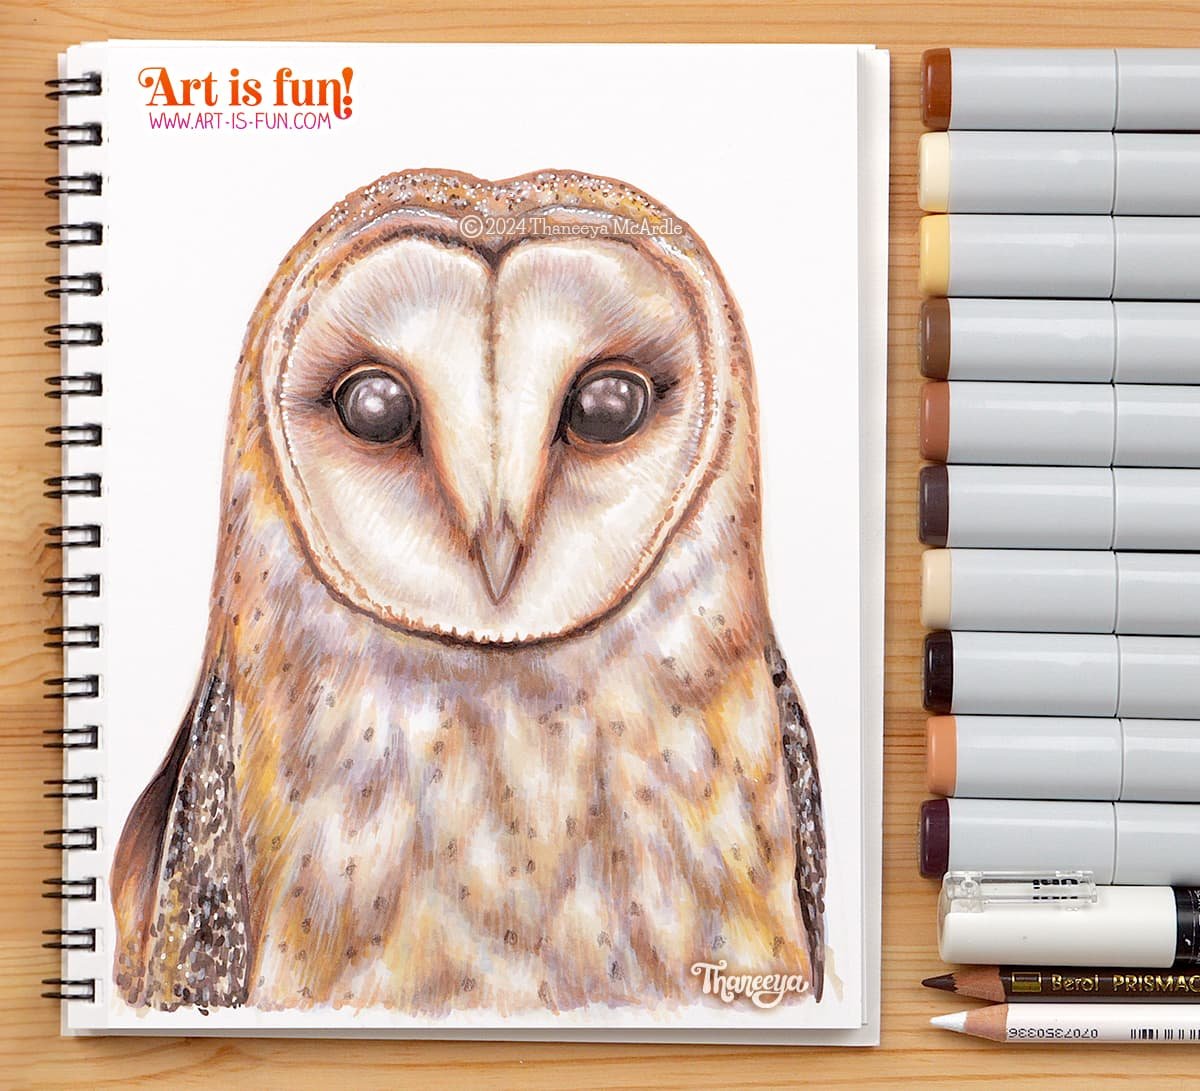
I hope you enjoyed this demo on how to draw realism with alcohol markers!
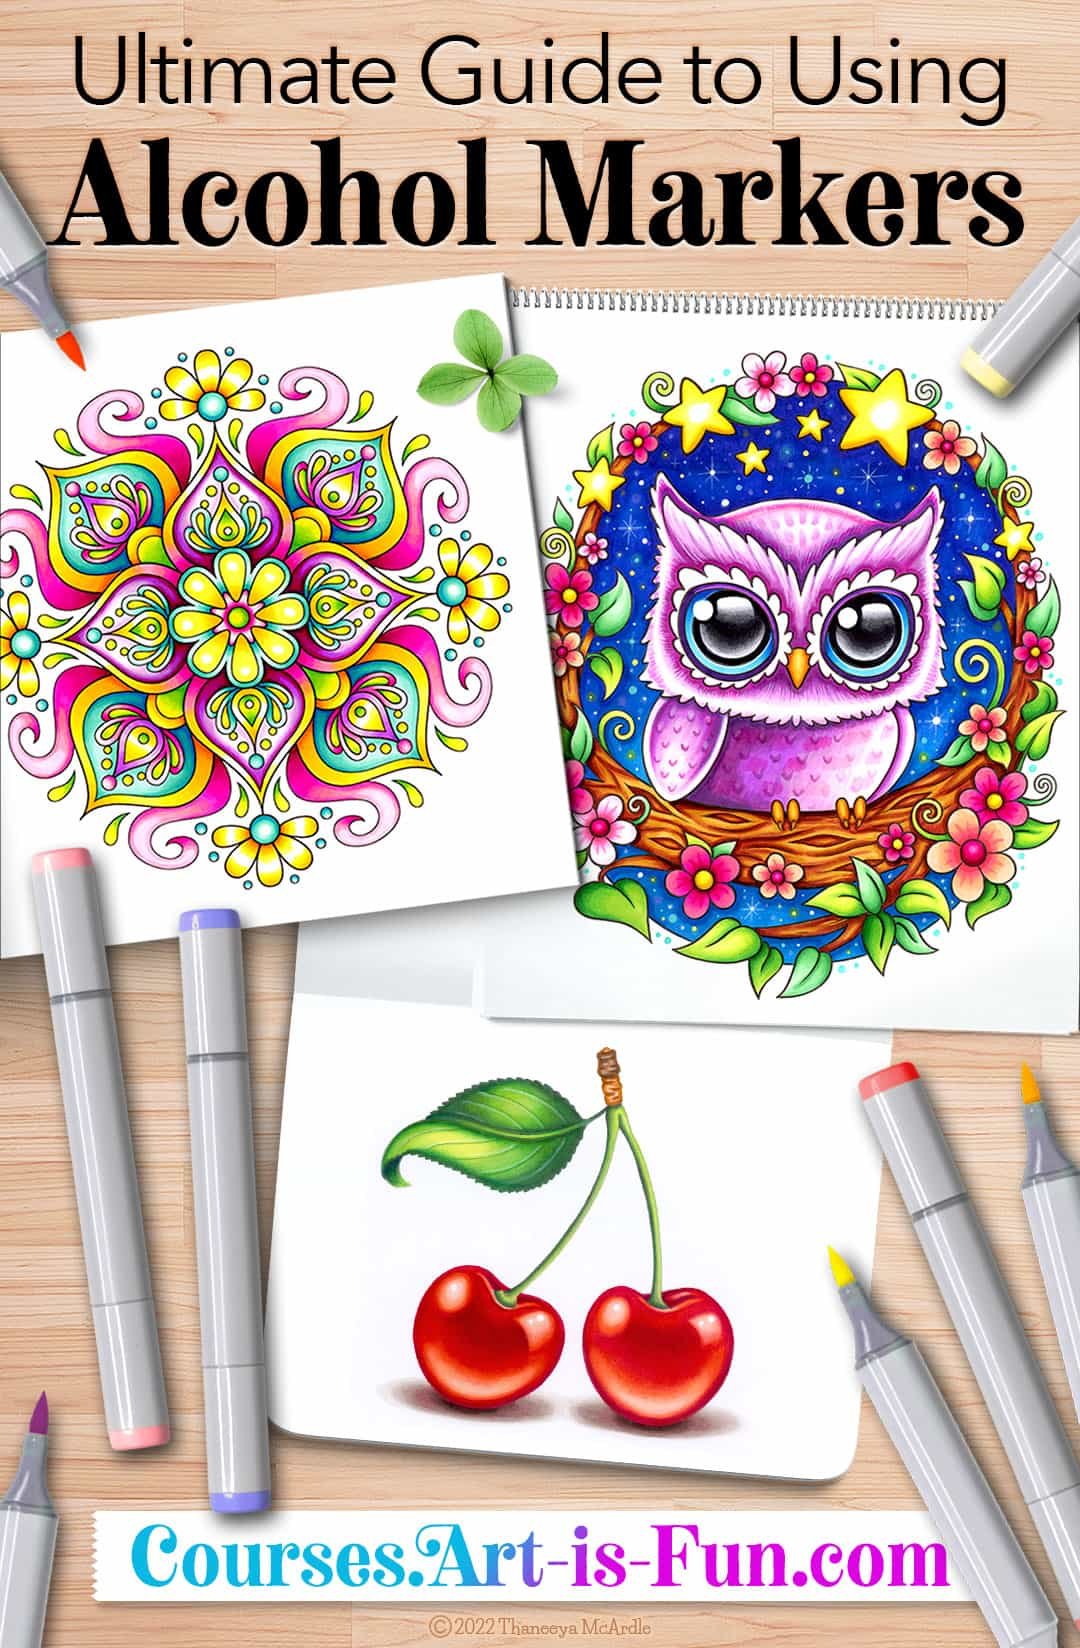
Ultimate Guide to Using Alcohol Markers
If you enjoyed this realistic alcohol marker tutorial and want to learn more of the best alcohol marker blending techniques, check out my Ultimate Guide to Using Alcohol Markers!
With 11+ hours of fully-narrated video lessons, you’ll go from beginner to advanced as you learn:
how to blend alcohol markers
how to choose colors for blending
how to use the Colorless Blender
how to fix mistakes
how to transfer your reference image
…and much more!
Over 50 pages of downloadable resources are included, from blending formulas to custom color charts to practice printables and more!
Then I’ll show you step-by-step how to color in the 3 artworks below! Printable line art is included, along with color names and swatches, so you can easily follow along, at your own pace!
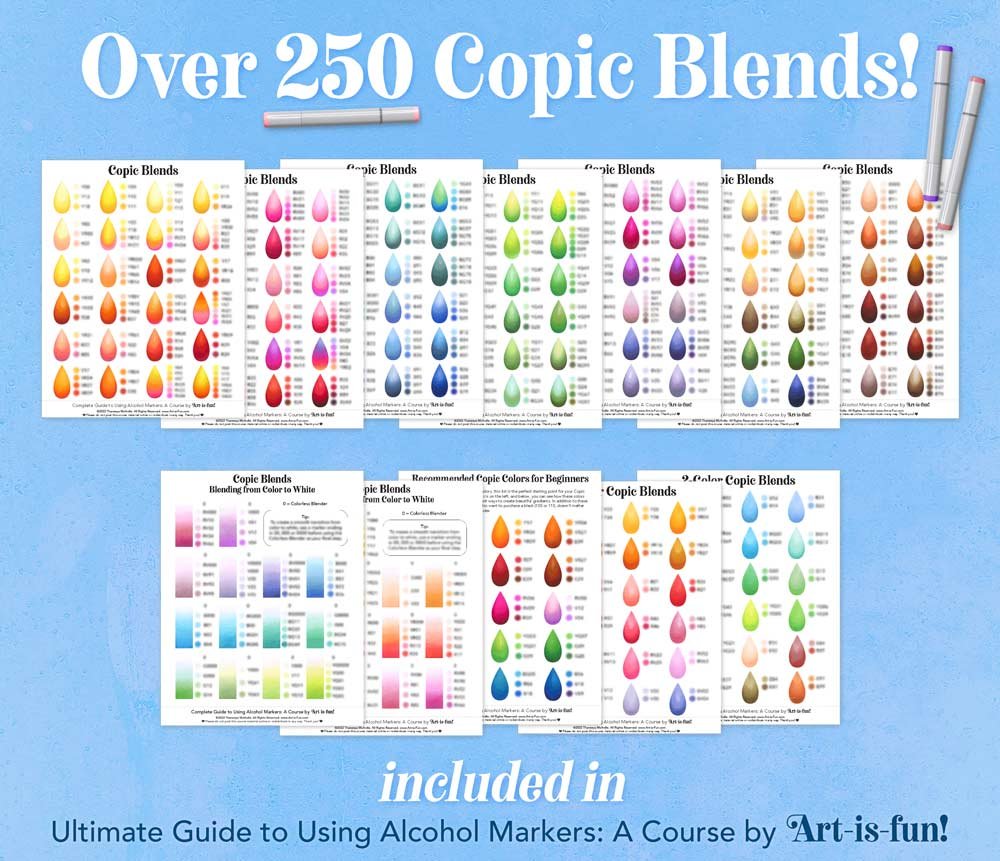
Plus, to help you get started on your alcohol marker adventure, you’ll get access to my exclusive collection of 250+ Copic blends!
These Copic blends don’t follow “traditional Copic blending formula rules” - instead, they’re based on which colors actually look good together, no matter where the colors are located in the official Copic color chart! 😍
If you don’t have Copic Markers, that’s okay! If you use Ohuhu Honolulu Markers, I’ve included a Copic-Ohuhu Color Conversion Chart, so you can easily follow along. If you use a different brand of alcohol markers, the same techniques will apply! All you need to do is match the colors that you have with the color swatches I use in the course, and you’ll be good to go! 😃
Keep Learning!
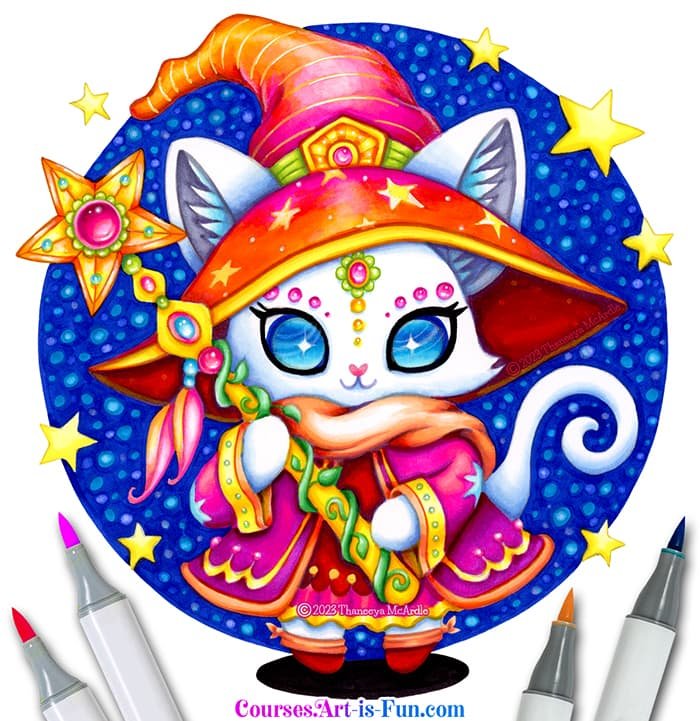
Learn how to use alcohol markers to color in this kawaii cat!
More Alcohol Marker info!
Check out more alcohol marker tutorials.
Return to the main Alcohol Markers page for an overview and Table of Contents.
Learn all about Copic Markers!
See a gallery of alcohol marker art and get inspired!
Visit my YouTube channel for more alcohol marker videos!
Check out my top 5 alcohol marker brands, with recommendations for every budget.
If Copics are out of your price range, read about the Best Copic Alternatives.


