The Grid Method
how to use the grid method to enlarge or transfer an image
The grid method is an inexpensive, low-tech way to reproduce and/or enlarge an image that you want to paint or draw. The grid method can be a fairly time-intensive process, depending on how large and detailed your painting will be. While the process is not as quick as using a projector or transfer paper, it does have the added benefit of helping to improve your drawing and observational skills.
In a nutshell, the grid method involves drawing a grid over your reference photo, and then drawing a grid of equal ratio on your work surface (paper, canvas, wood panel, etc). Then you draw the image on your canvas, focusing on one square at a time, until the entire image has been transferred. Once you're finished, you simply erase or paint over the grid lines, and start working on your painting, which will be now be in perfect proportion! Yay.
To use the grid method, you need to have a ruler, a paper copy of your reference image, and a pencil to draw lines on the image. You will also need a work surface upon which you will be transferring the photo, such as paper, canvas, wood panel, etc.
To draw the grid lines on paper, I would recommend using a mechanical pencil, so that you can get a thin, precise line. Be sure to draw the grid very lightly, so that you can easily erase it when you are finished.
To draw the grid lines on canvas or wood, I would suggest using a thin piece of sharpened charcoal. Again, make sure you make the grid lines as light as possible, so that they are easy to erase when you are finished. The benefit of using charcoal on canvas or wood, instead of using pencil, is that charcoal can be easily wiped off with a paper towel or rag, whereas pencil can be more difficult to erase.
The important thing to remember when drawing the grids is that they must have a 1:1 ratio. This is very important - otherwise your drawing will be distorted! Basically, a 1:1 ratio means that you will have the exact same number of lines on your canvas as you will on your reference photo, and that in both cases, the lines must be equally spaced apart - perfect squares.
Confused? It's quite easy once you get the hang of it. Let's see the grid method in action, and it will make more sense.
Let's say you want to paint the following image:

This reference photo is 5" x 7". As luck would have it, you want to make a 5" x 7" painting from this photo. So drawing the grid will be pretty straightforward. But if you want to make a large painting, you could also make a painting that is 10" x 14" or 15" x 21" or 20" x 28". Why those sizes and not other sizes? Because those sizes are the same ratio as the 5" x 7" reference photo. In other words:

See? It's basic math. The size of your artwork must always be equally proportionate to the size of the reference photo.
Because of this, it's important to be aware of what size canvases and wood panels are commercially available. If you stretch your own canvases, you can get stretcher bars in just about any size to suit your needs. But if you're like most of us, you buy pre-stretched canvases, so you are limited to the more popular sizes.
So, back to grid-making. Here is what you want your grid to look like:

To draw the grid:
Each square is 1 square inch. To draw this grid, put your ruler at the top of the paper, and make a small mark at every inch. Place the ruler at the bottom of the paper and do the same thing. Then use the ruler to make a straight line connecting each dot at the bottom with its partner at the top.
Now place the ruler on the left side of your paper, and make a small mark at every inch. Then place the ruler on the right side of the paper, and do the same thing. Then, using your ruler, make a straight line connecting the dots on the left with their partners on the right.
Voila, you've got a grid! Now repeat the same procedure on your paper or canvas:
You've now got a grid on your work surface that perfectly matches the grid of your reference photo. Bravo!
Because this painting will be the exact size as the reference photo, the squares on this canvas are also 1 square inch. If this painting was going to be 10" x 14", then the squares would need to be 2 square inches, because:

See?
Basically, to enlarge the image, you'll need to do this kind of math (even if you hate math!). It's necessary in order to make sure the enlargement is exactly proportionate to the original. If you're not sure whether you've done the math correctly, just count the number of squares in each row and in each column, and ask yourself:
Are there an equal number of rows and columns on the canvas as there are on the reference photo?
Are the squares on the canvas perfect squares, just like the squares on the reference photo?
If you can answer yes to both of those questions, you've got the gridding process down pat!
Now, back to the 5" x 7" grid above.
I find that it's sometimes easier to keep track of where I am amongst all those little squares by marking them numerically and alphabetically along the edges of the paper and canvas. This way if I get lost, especially within a much larger painting with many more squares, I can easily locate where I want to be. I write the numbers and letters really small and lightly, so that they can be easily erased. It looks something like this:
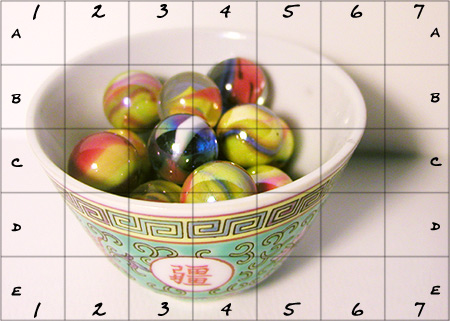
And this is how it looks on the paper or canvas:
So now your task is to transfer what you see in the reference photo, block by block, onto your canvas or paper. When I use the grid method, I always start at the top left corner, and work my way across and down. Since Square A1 is blank in the reference photo, we'll move on to A2. Draw in A2 exactly as you see it:
The grid basically divides the original image into smaller blocks so that you can more easily see what belongs where. You can see that in the photo, the left side of the little bowl intersects the corner at the bottom left of Square A2. So you draw the line from there to just below the middle of the line between A2 and A3.
That first block was easy! Now do the next block:

So you see that as you are transferring the image, you are only paying attention to one block at a time. Don't worry about the other blocks - just focus on that one block. Try as much as you can to copy exactly what you see in that little square in the photo to the corresponding square on your paper or canvas. Focus on getting the placement of each line just right! Here we go:
And then the next square:
I think you get the idea now. Basically you continue on in this manner, until all the squares are done and the image is completely transferred. By focusing on one square at a time, you end up drawing what you actually see, and not what you think you see or even what you think you ought to see. Once finished, you now have a pretty accurate rendition of your reference photo, ready for painting or drawing!
When you are done transferring the image, gently erase the grid lines. Congratulations - you're ready to paint!
Video demonstrations
If you'd like to see a video demonstration of the grid method, check out these courses on Skillshare. Get immediate access with their 14-day free trial or use our code, ARTISFUN30, to get 30% off annual membership! If you sign up via any of these links, I get a commission that helps support this site!
In summary...
The grid method has been used by artists for centuries as a tool to creating correct proportions. Renaissance artists, even the great Leonardo da Vinci, used the grid method! The grid method dates back to the ancient Egyptians. It is clearly a useful method for artists and aspiring artists alike. If you plan to use the grid method, keep the following tips in mind:
If you are planning to enlarge your reference photo to create a bigger painting, please remember to keep the proportions correct. Make sure that everything is equal. For instance, if your photo is 8" x 10", then you can easily create a painting that in this sizes:

These sizes work because they are all equal to 8" x 10". Basically, if you multiply one side by 2, multiply the other side by 2 as well. This is the only way that the enlargement will be proportionally correct!
If you want to paint using a pre-stretched canvas, but your reference photo does not fit any of the standard canvas sizes, try cropping your photo so that it does fit.
The grid method is not only useful for photorealistic paintings, but can also be applied to enlarge or transfer drawings or sketches in any style, such as abstract, cubist, whimsical, etc. It's an effective way to transform that little doodle in your sketchbook into a full-blown painting!
This is Page 9 of a 15-page guide explaining how to paint photorealistically.
Let’s keep in touch!
Sign up for my newsletter to get regular updates on all my newest art, tutorials, courses, books, printables, videos, discounts and more! See behind-the-scenes pics of my artistic process, plus get access to a free printable coloring book right after you sign up!
I promise I'll never spam you and you can unsubscribe at any time!
Unlock the secrets of color!
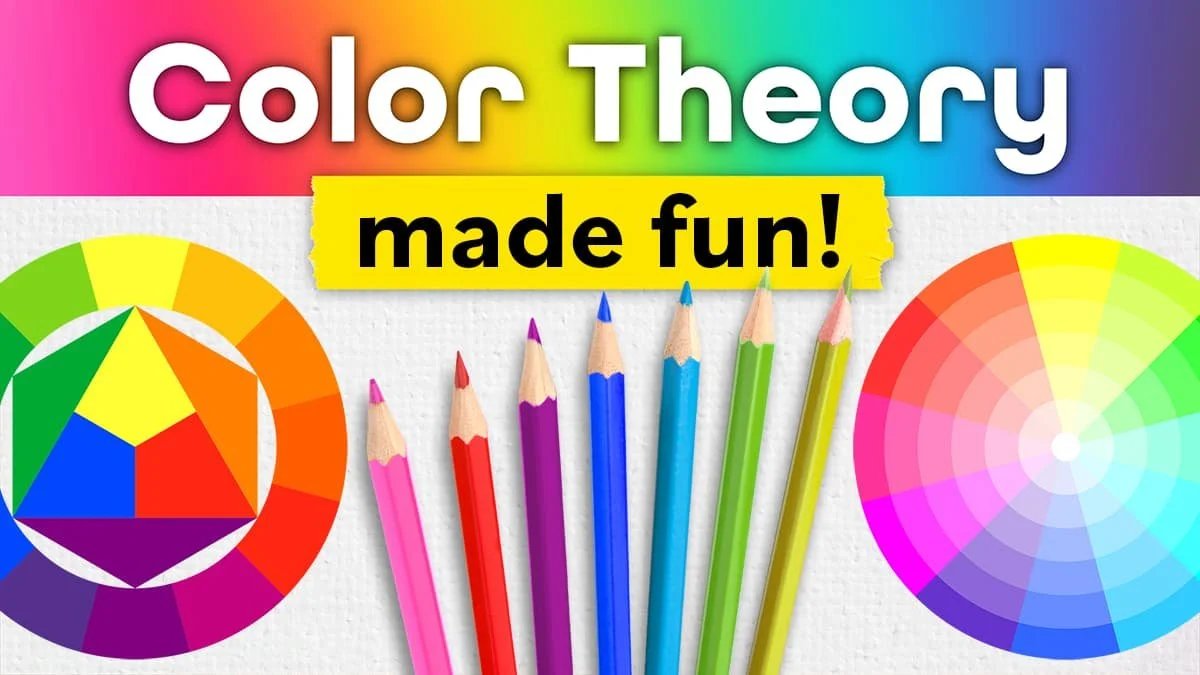
If picking and using colors ever stresses you out, I made a handy video series that will help unlock the secrets of color! Color Theory Made Fun is a beginner-friendly course with over 8.5 hours of video lessons and a fun 57-page printable workbook designed to demystify color, so that color becomes an absolute joy to work with (instead of a source of stress)! Click here to watch the course trailer and see everything you’ll learn as we explore the fascinating world of colors and how to use them.
One of the most surprising projects in Color Theory Made Fun is when I show you how to draw this realistic rainbow cake using only 3 colors: cyan, magenta, and yellow - plus white and black! It’s a fun, eye-opening demonstration of how you can mix and blend ALL the colors you need, using only 5 colored pencils! You can follow along using included printable line art as you watch the entire drawing unfold in real time. If you’ve ever wanted to see color theory in action, this lesson brings it to life in a really fulfilling and mind-expanding way!
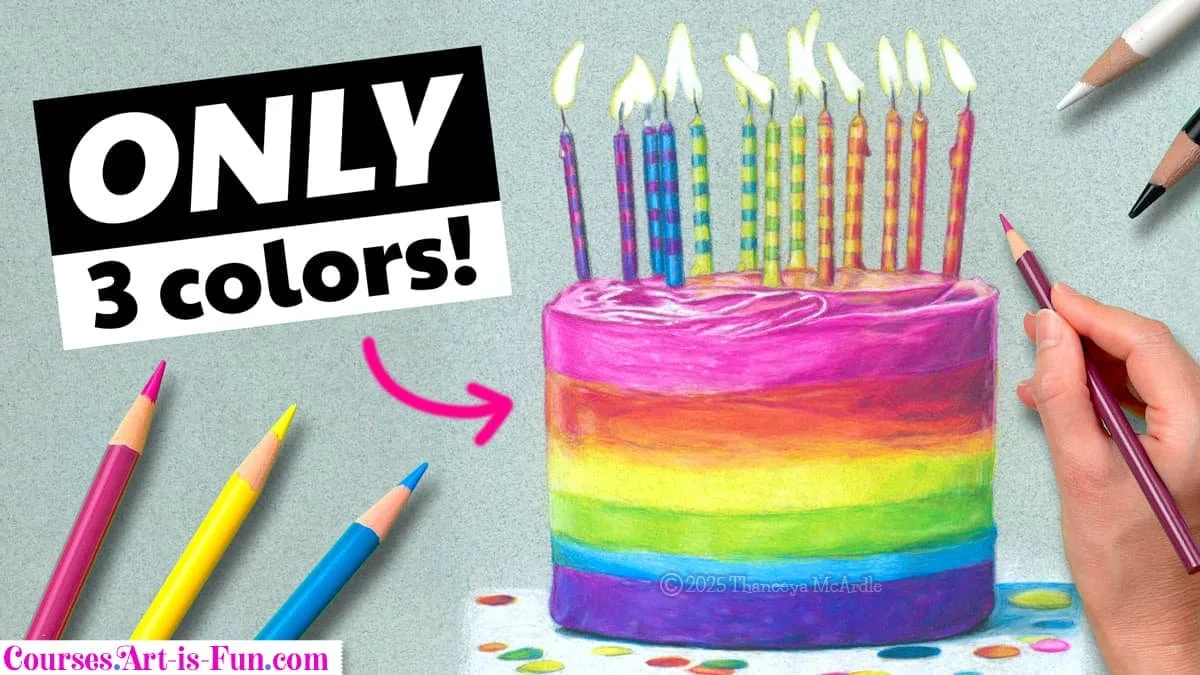
Learn how to draw realism using only 5 colored pencils: the 3 primaries, plus white and black!
Keep learning…
Read a current and historical overview of Photorealist painting techniques and methods. It is beneficial to familiarize yourself with this information before you embark on your own journey to create photorealistic paintings.
Familiarize yourself with the Photorealist art movement by reading my overview of Photorealism.
The books below are available on Amazon. As an Amazon Associate I earn from qualifying purchases.

Drawing for the Absolute Beginner
How to Draw with Photorealism

Realistic Drawing Secrets
Let’s Draw Course
Check out my in-depth review of the Let’s Draw Course! It’s a digital course – that you can access immediately – taught through videos and ebooks by two experienced instructors. Highly recommended!
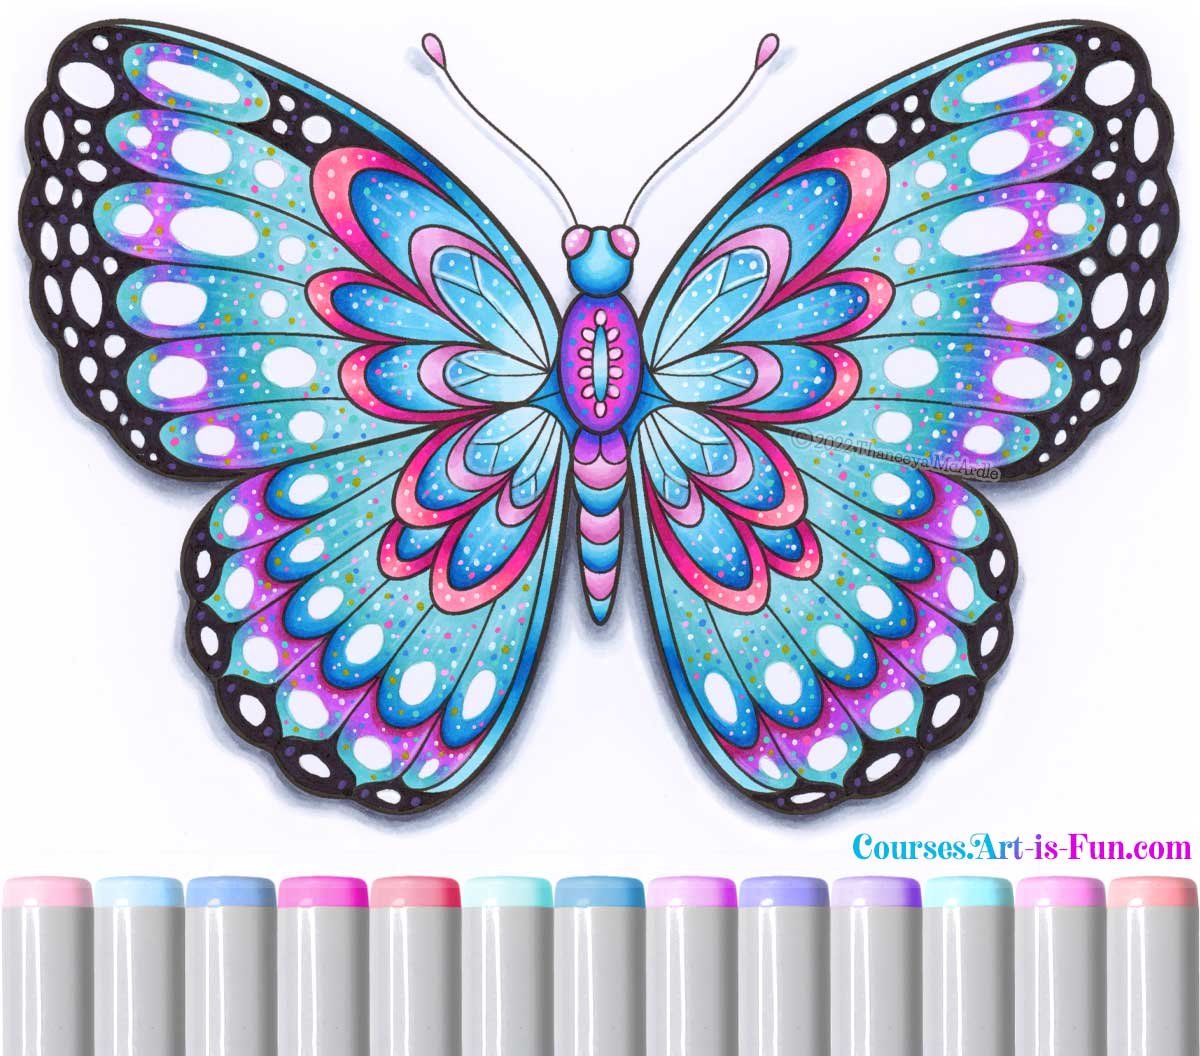
Free Alcohol Markers Course
Learn how to color in the luminescent butterfly below in my free 90-minute alcohol markers course! Printable line art is included, along with a list of color swatches and color names, so you can follow along with me, step-by-step!