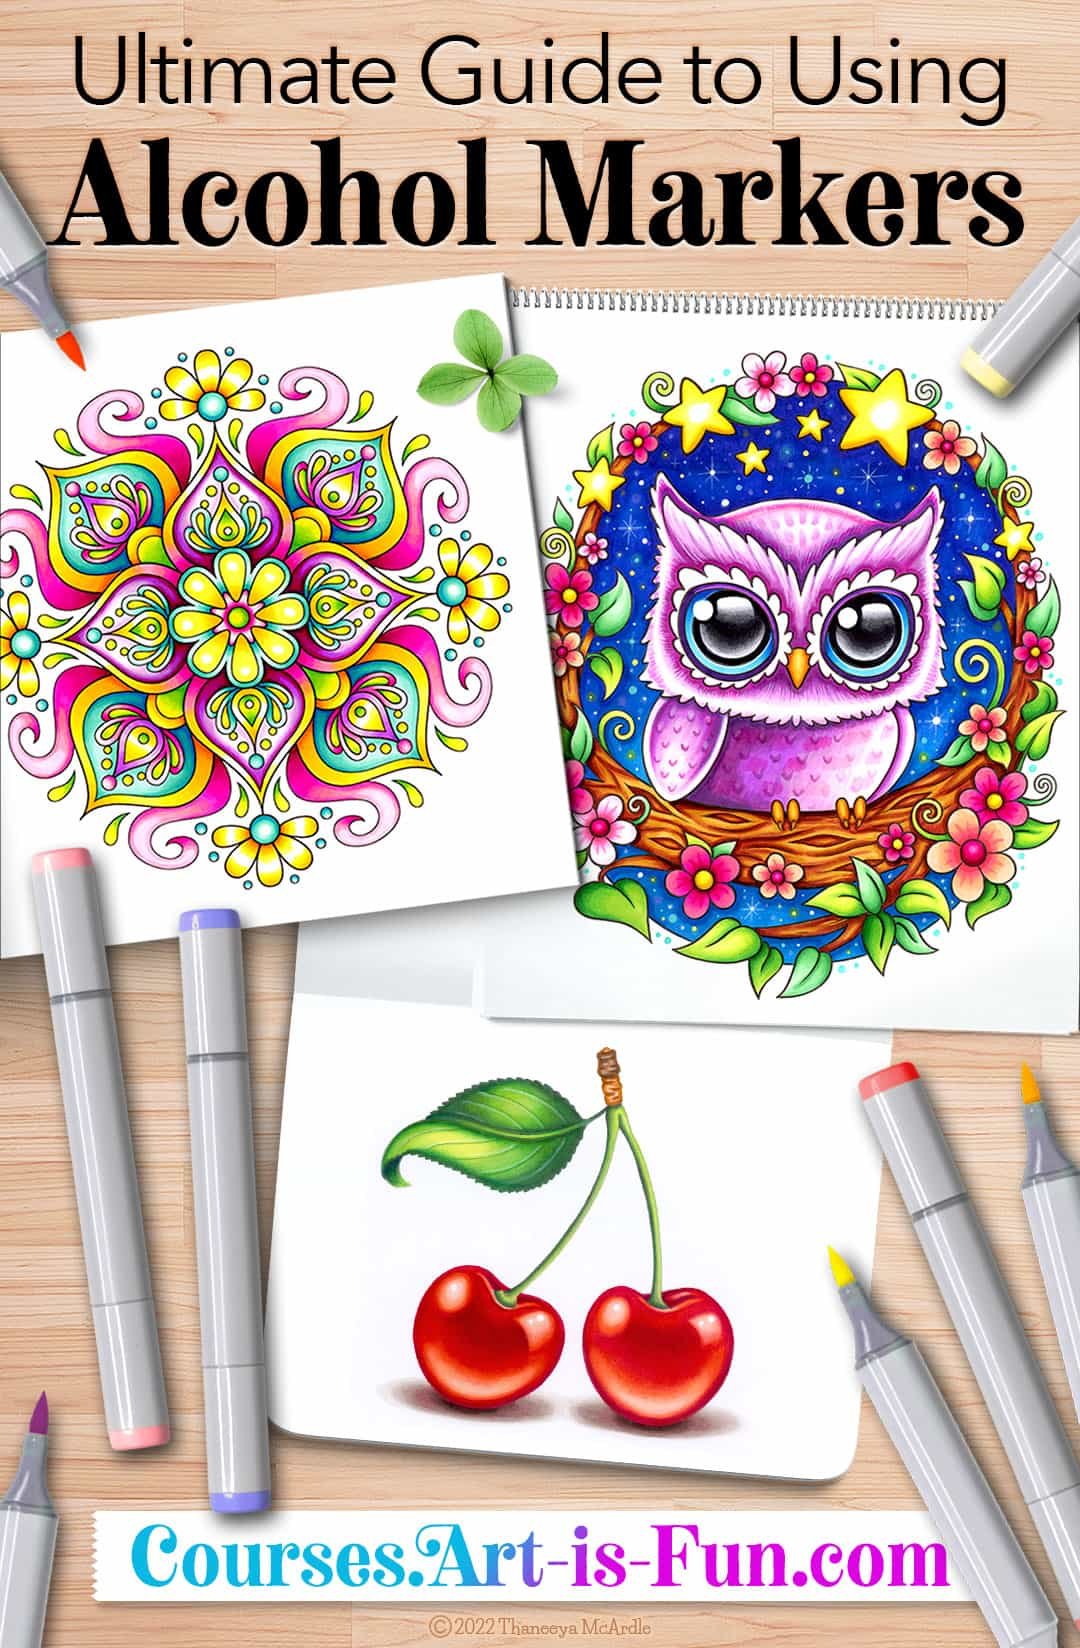
How to Create Realistic Art with Alcohol Markers
Learn the best techniques for creating realistic art with alcohol markers! It’s easier than you might think. You can get a solid overview of the best alcohol marker blending techniques for realism in the video below:

If you enjoyed this video, be sure to subscribe to my channel so that you never miss a thing! 😍
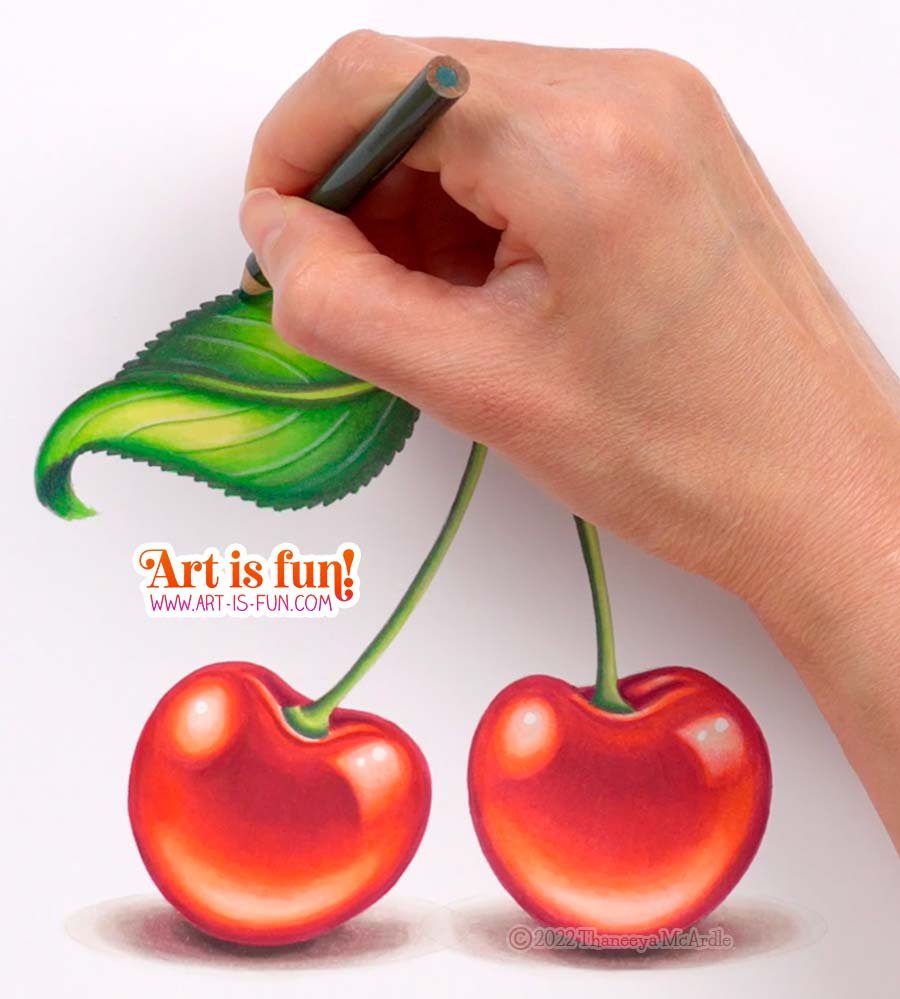
To color in these vibrantly realistic cherries, I employed a few different alcohol marker blending techniques.
I colored in these cherries using Copic Sketch Markers on X-Press It Blending Card (affiliate link). Creating realism with alcohol markers is a lot easier if you're using alcohol marker paper, because the paper is specifically designed to make it easier to blend the alcohol markers. X-Press It Blending Card is an absolutely wonderful paper for blending alcohol markers!
Alcohol Marker Techniques for Realism
Here’s a quick look at some of the techniques demonstrated in the video above!
First, I blended the left cherry going from light to dark. Below you can see how it looks during the early stages, after a few layers of light reds have been applied.
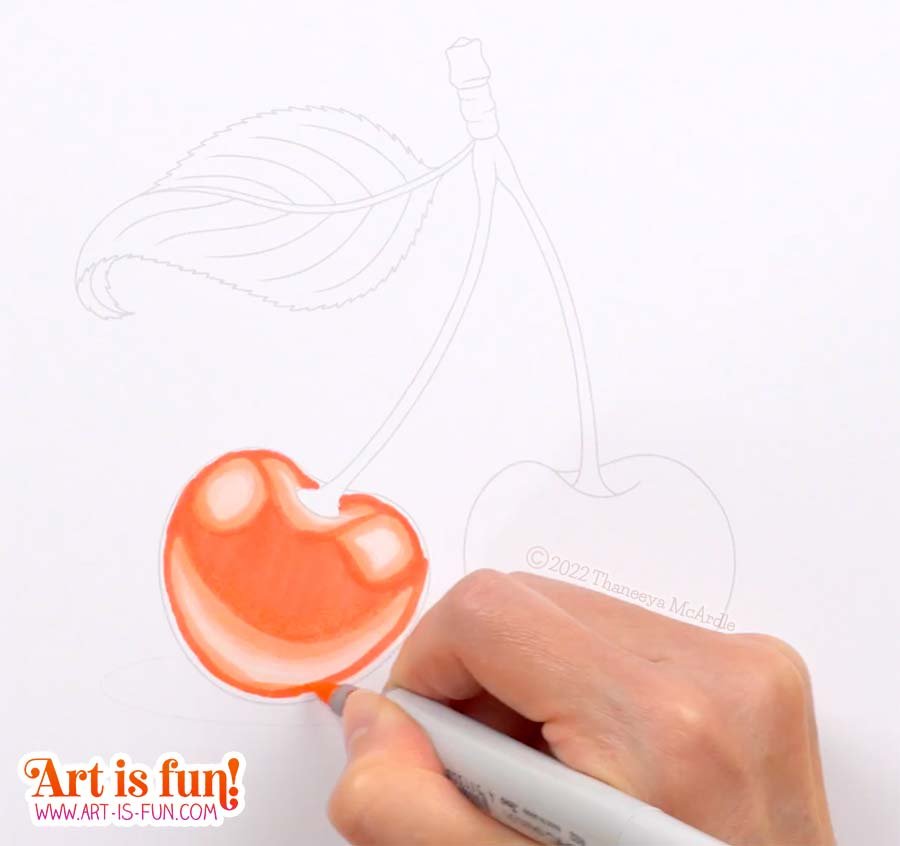
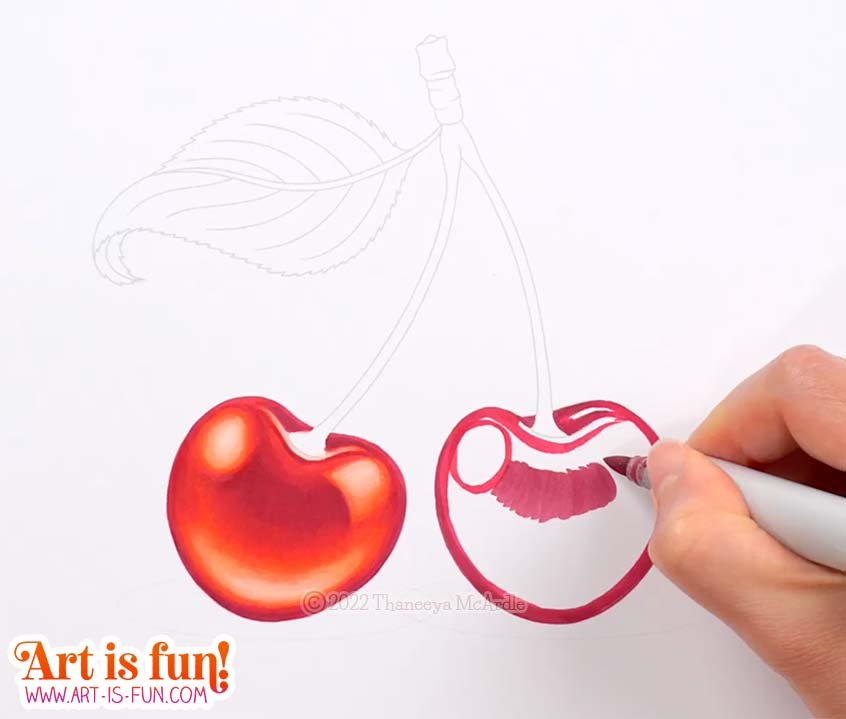
Then I colored in the right cherry going from dark to light. Below you can see how it looks after a couple of the dark colors have been added.
Sometimes people who use alcohol markers have strong opinions about whether it’s “better” to blend from light to dark, or from dark to light. In my opinion, both ways are equally valid! Each method has its own pros and cons, and ultimately, whichever method you choose will boil down to your personal preference, based on your style of art and your subject matter. There really is no right or wrong about this. That’s why I wanted to demonstrate coloring in the same subject matter (cherries) in the same style using the same colors, to show that the same look can be achieved both ways (coloring light to dark and dark to light).
I encourage you to try blending both ways (light to dark and dark to light) and see which way you prefer!
Underpainting with Alcohol Markers
Next, I used an underpainting technique to color in the leaf and stems.
Underpainting is an artistic technique that’s been around for centuries. You can do underpainting with any medium that is transparent (or can be made transparent) such as oils, acrylics, watercolors, colored pencils, digital art… and alcohol markers!
The underpainting technique is really easy. You basically put down a monochromatic base layer - typically grays (called grisaille), but you can use any color, such as browns, blues or reds. The purpose of this monochromatic base layer is to define the values - how light or dark the object is, and where. This monochromatic base layer is called the “underpainting”.
Check out the gray areas on the leaf below:

After you create your underpainting, you then color over top of it (called the “overpainting”). Because alcohol markers are transparent, the color underneath shows through.
In the example above, I created an underpainting on the leaf using grays. For the top half of the leaf, you can see that I’ve gone over the underpainting with greens and yellow greens. For the bottom half of the leaf, I’m just beginning to lay down the color on top of the underpainting.
Notice that I didn’t color in the entire leaf with grays. This is because I wanted the highlights of the leaf to be bright and vivid, and not bogged down with gray.
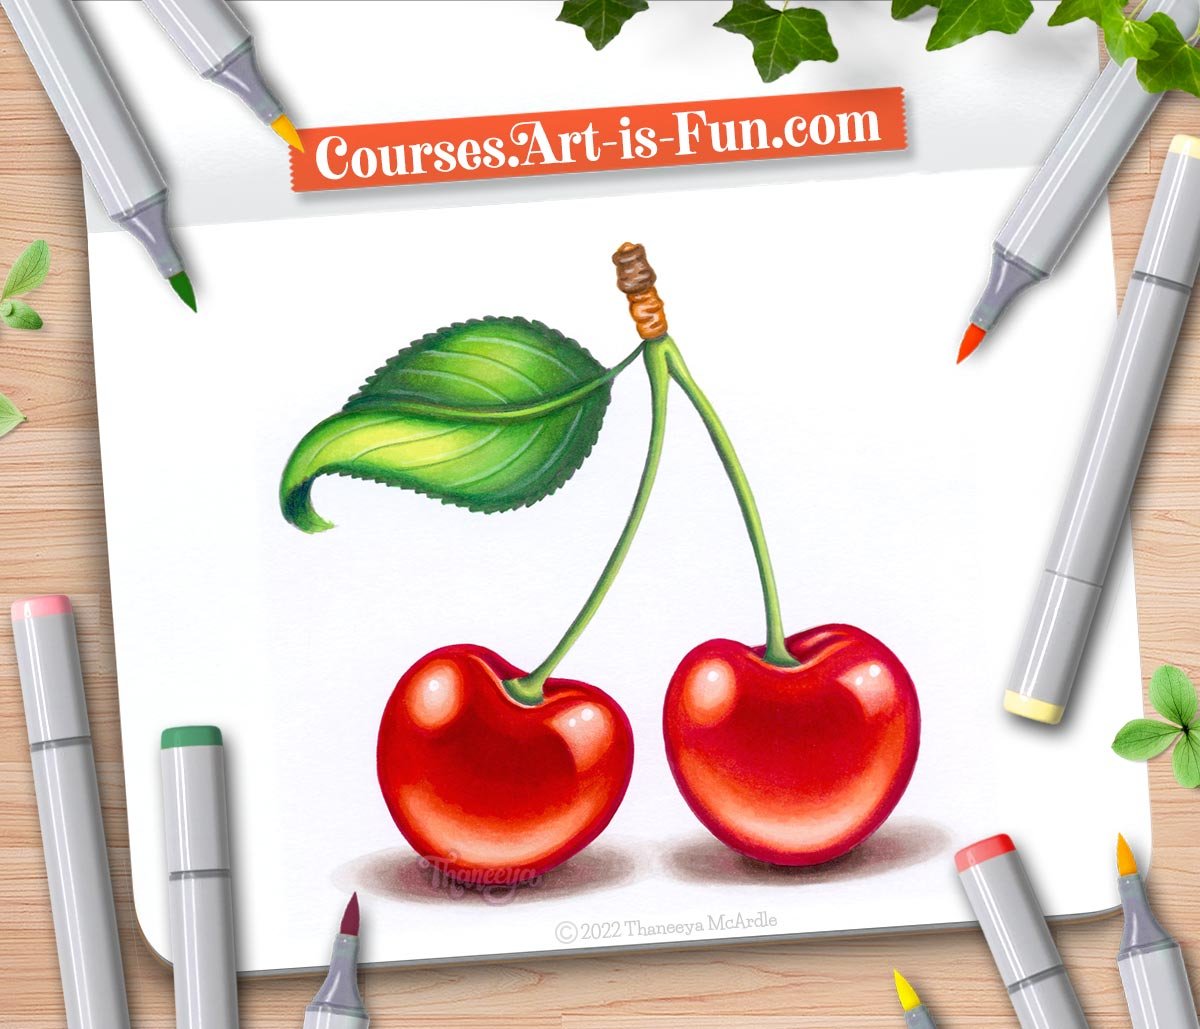
Below you can see how the finished leaf turned out. Later, we’ll add more details using colored pencils to accentuate the veins of the leaf.

One more tip about creating an underpainting with alcohol markers is that you should be selective about when you use this technique. Underpainting is not always necessary for creating realism. For example, I didn’t use an underpainting when I colored in the cherries because I wanted the cherries to be as vibrant as possible. If I had used a gray or brown underpainting, it would have made the red colors on top look too dull or muddy.
We’re almost done!
The next step is to create the shadows below the cherries:
Although it’s tempting to reach for grays when creating shadows, shadows actually look much more dynamic when you create them using non-gray colors. I actually only used 1 gray marker for these shadows! The rest are from 3 other Copic color families: Earth, Red and Red-Violet.
At this stage, you could call this alcohol marker drawing done, if you want to! But I’m going to take it a step further, and use colored pencils to touch up certain areas:
Colored pencils are very handy to use on top of alcohol markers to do things like:
Brighten highlights
Deep shadows
Smooth out any weird blends
Adjust colors
Fix or hide mistakes
I also used a white Posca paint pen to add small specular highlights on the brightest parts of the cherries.
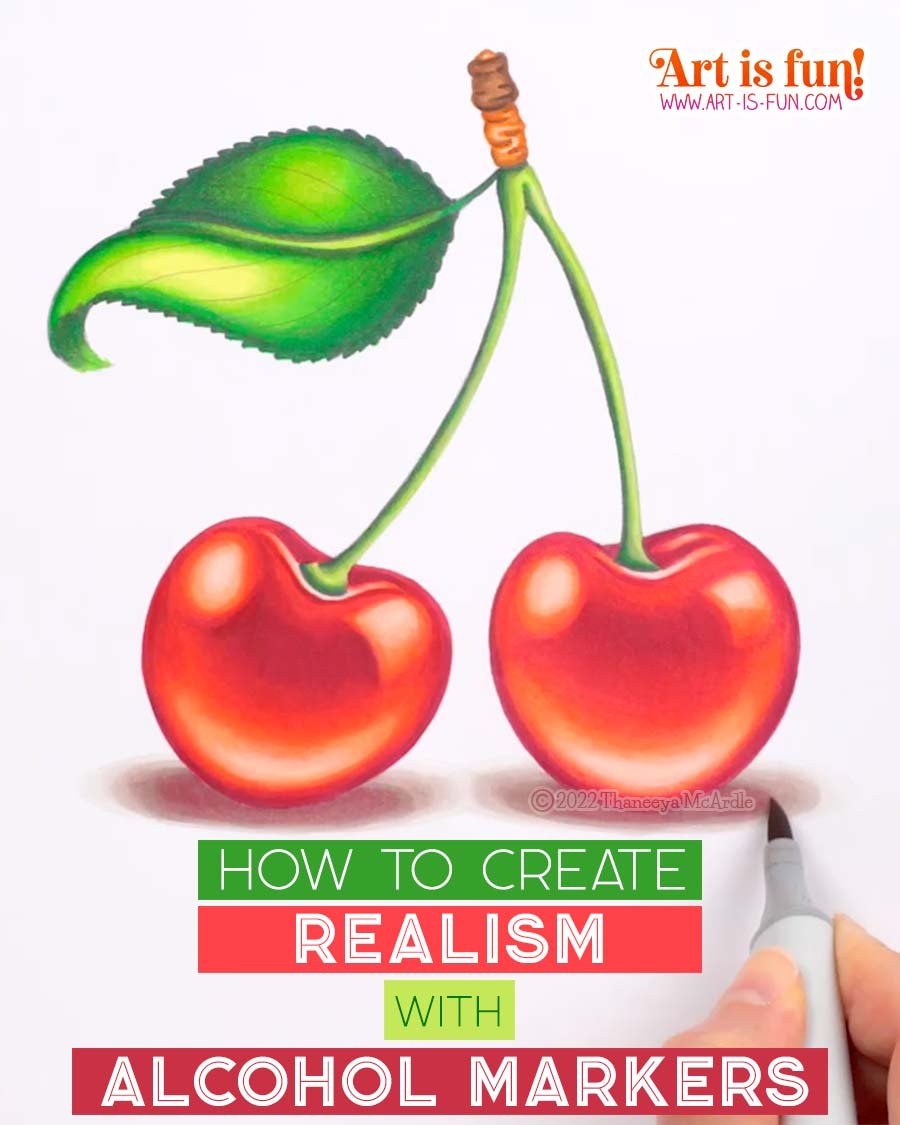
Below you can see the finished cherries!
These cherries are one of the coloring projects that you can learn to create step-by-step in my Ultimate Guide to Using Alcohol Markers. The full Cherries project is 76 minutes long, divided into 7 bite-sized videos lessons. You can watch my coloring in real-time, from different angles, so you get an up-close look at my alcohol marker techniques! Each video is fully narrated so you can understand every step of the process.
Printable line art is included, along with Color Swatches and Color Names. Every time I change colors, a color swatch pops up on the screen, so you can follow along at home, at your own pace!
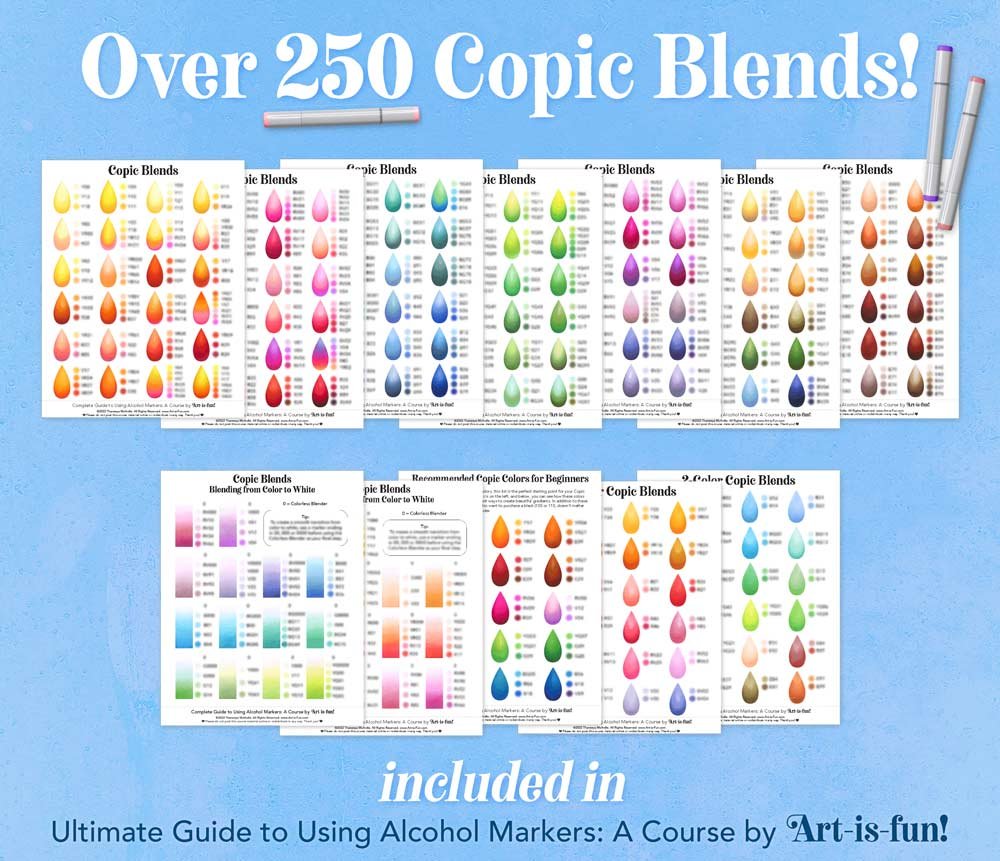
Also included in my Ultimate Guide to Using Alcohol Markers is my exclusive library of over 250 Copic Blends! These creative blends don’t follow “traditional Copic blending formula rules” - instead, they’re based on which colors actually look good together! 😍
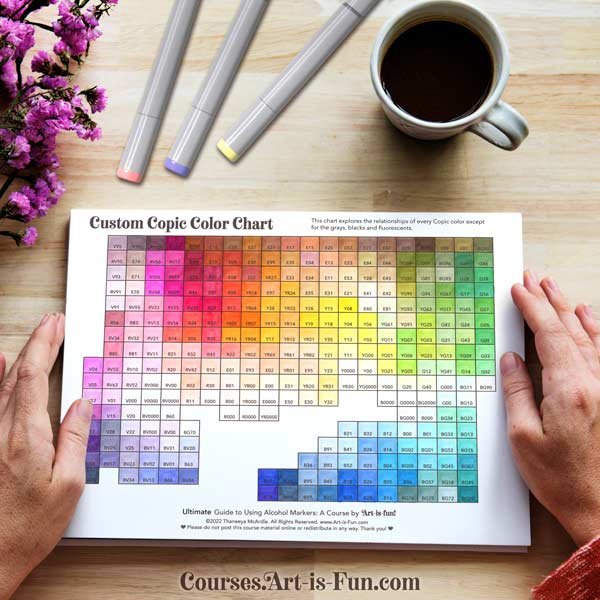
In my Ultimate Guide to Using Alcohol Markers, you’ll also receive my Custom Copic Color Chart, in which I carefully arranged the colors based on what they actually look like. This makes it much easier to select colors to blend together. You’ll get both the fully-colored in version (shown below) as well as a blank version that you can fill in yourself!
Keep Learning!
Check out more alcohol marker tutorials.
Learn all about Copic Markers!
If Copics are out of your price range, read about the Best Copic Alternatives.
Visit my YouTube channel for more alcohol marker videos!
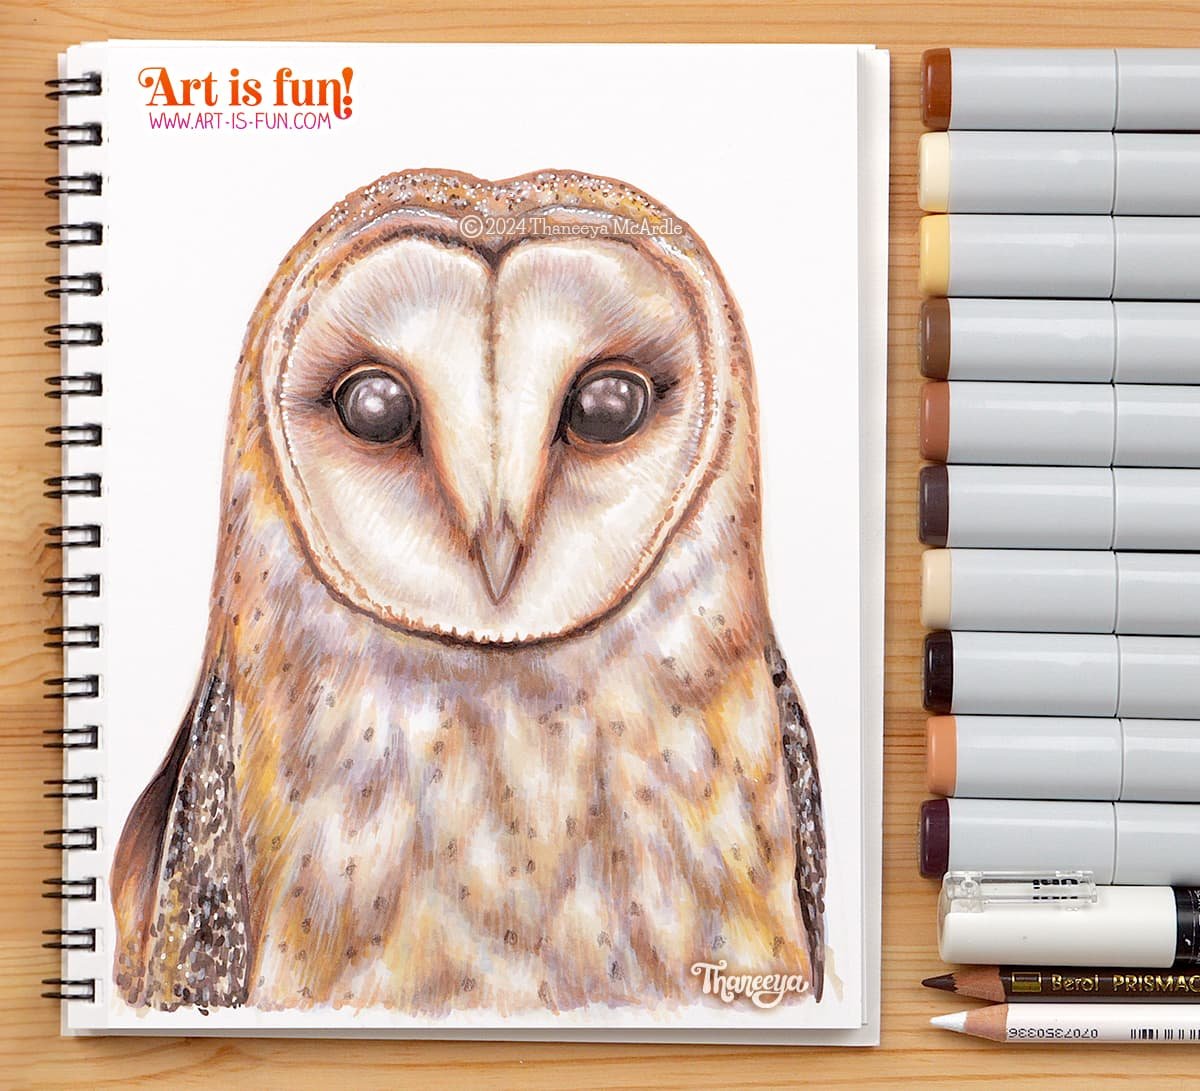
Draw realism with alcohol markers
Follow along as I draw the realistic owl below while explaining the best realistic alcohol marker techniques!