How to Combine Alcohol Markers and Colored Pencils
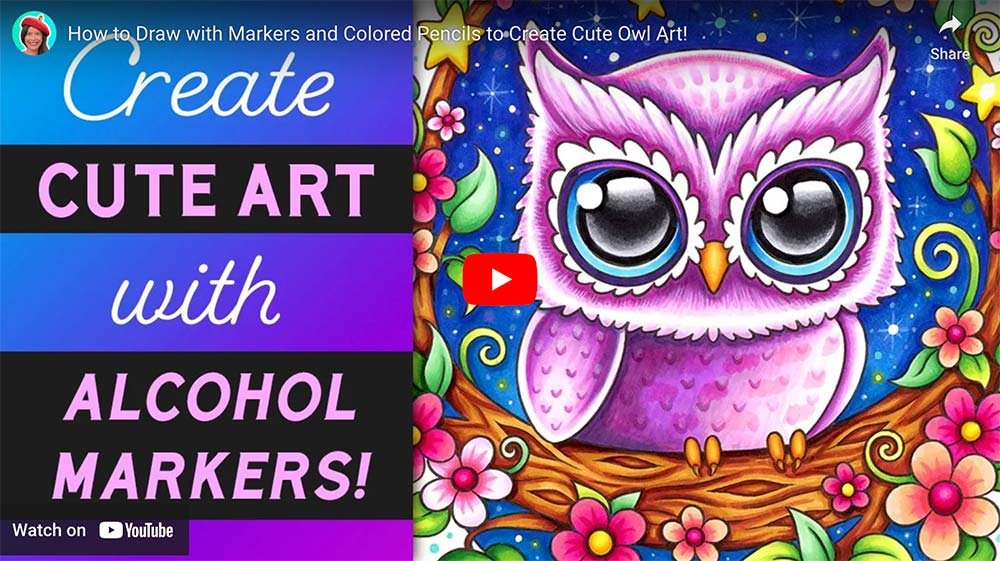
Learn how to use alcohol markers and colored pencils in the same artwork to create gorgeous effects! Check out my video below, where you can see how I used these techniques to create this whimsical owl art:
If you enjoyed this video, be sure to subscribe to my channel so that you never miss a thing! 😍
Read on for a quick overview of the techniques for how to use alcohol markers and colored pencils together in the same artwork!
Materials Used
As an Amazon Associate, I earn from qualifying purchases at no additional cost to you.
Let’s begin!
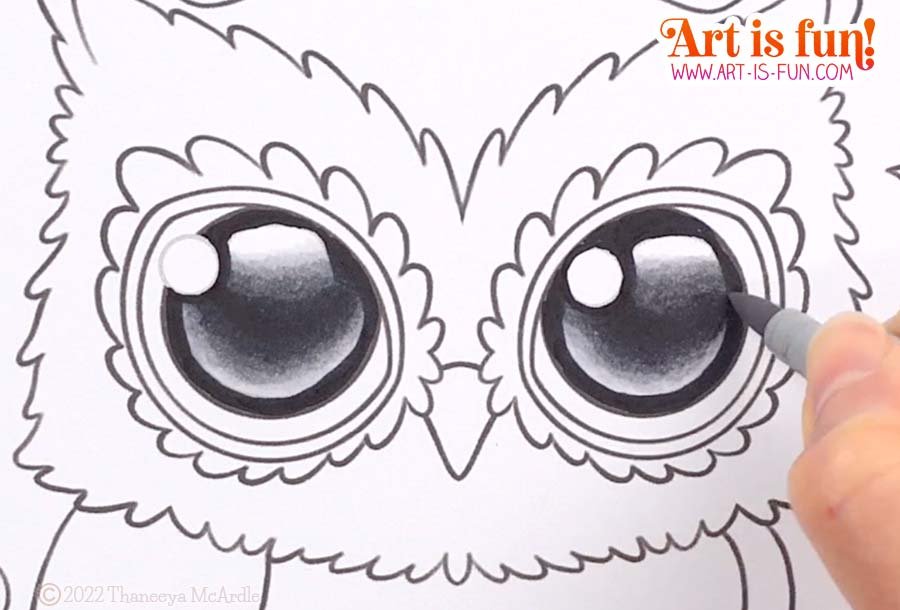
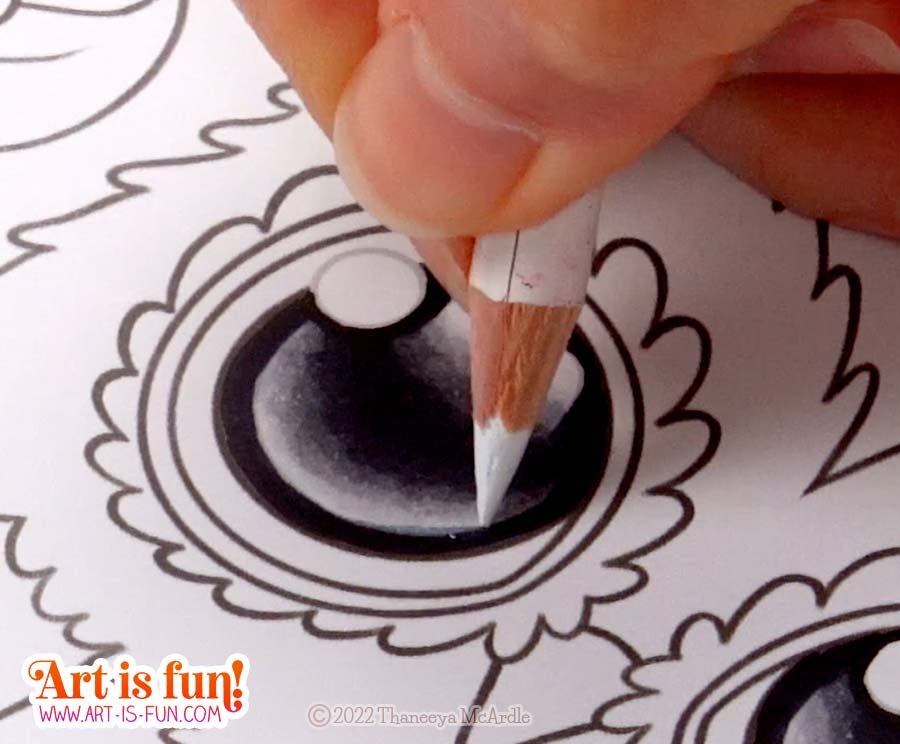
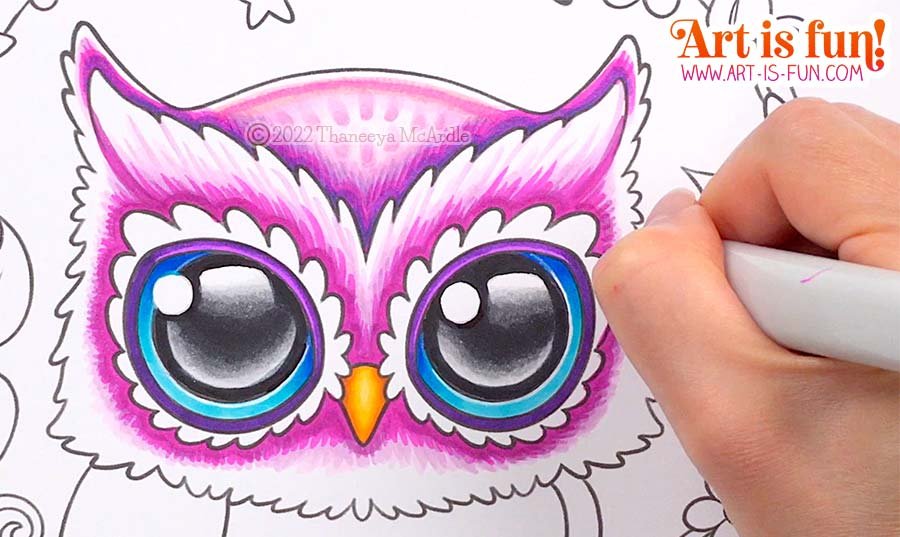
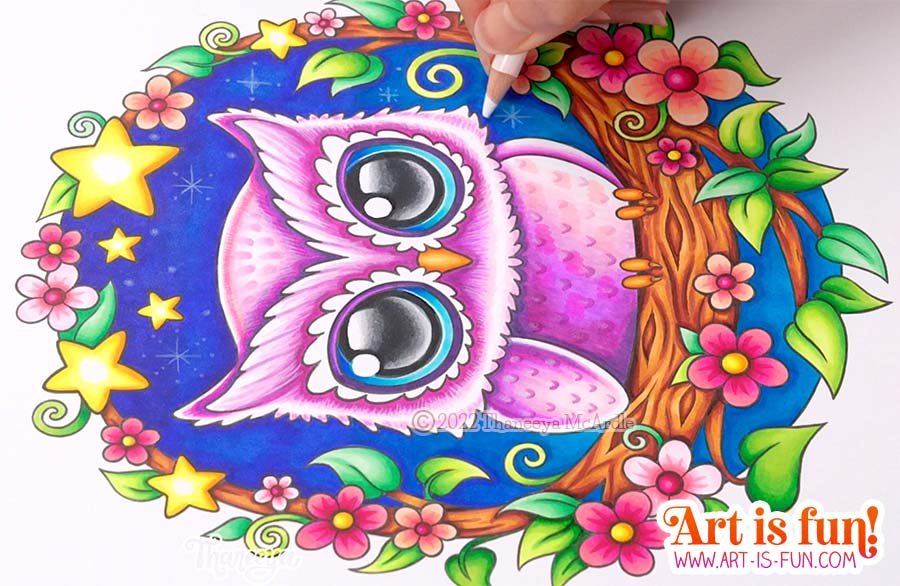
Above you can see that I colored in the owl’s eyes using alcohol markers, blending from black to the white of the paper to create dramatic highlights.
The blends look pretty good, but could do with some minor adjusting here and there, so I smoothed them out in some places using a white colored pencil.
Below you can see a close-up view of how I used the white colored pencil to fix the edge of the highlight:
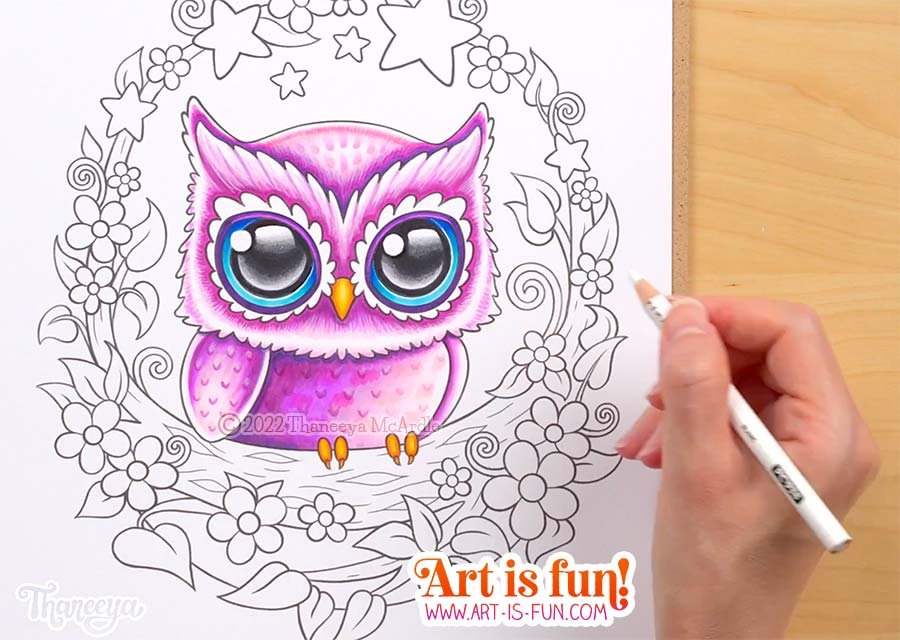
Next we move on to coloring the owl’s head.
It might look kind of rough and awkward at first, but as we add more layers of alcohol markers, the hard edges of these brushstrokes start to soften and smooth out, creating a more feathery appearance.
Later, we’ll add more texture with colored pencils.
After coloring in the owl with Copic Markers, I went back in with a white colored pencil to add some textures, highlights and details.
Here’s how it looks now:
Next, I colored in the sky using a gradient that’s lighter at the bottom and darker at the top, as you can see below.
Right now, it looks rather basic, but later, we’ll jazz it up with colored pencils and paint pens to create a starry night sky! ✨
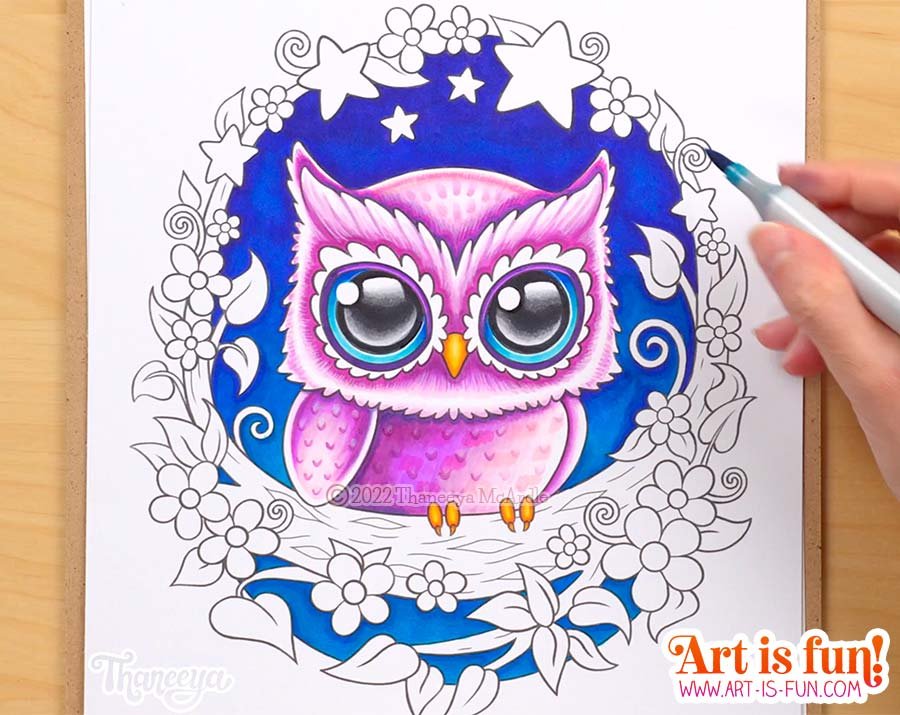
Next it’s time to color in the branch that’s framing the owl. Below you can see how I colored in the branch and leaves.
Note that I used 3 different blends for the leaves, rather than using the same blend over and over. Using different blends creates more of a sense of variety in an artwork, which makes it more interesting for the viewer’s eyes to explore.

After coloring in the leaves, I color in the flowers using 3 different pink/peach blends.
Then I color in the stars:
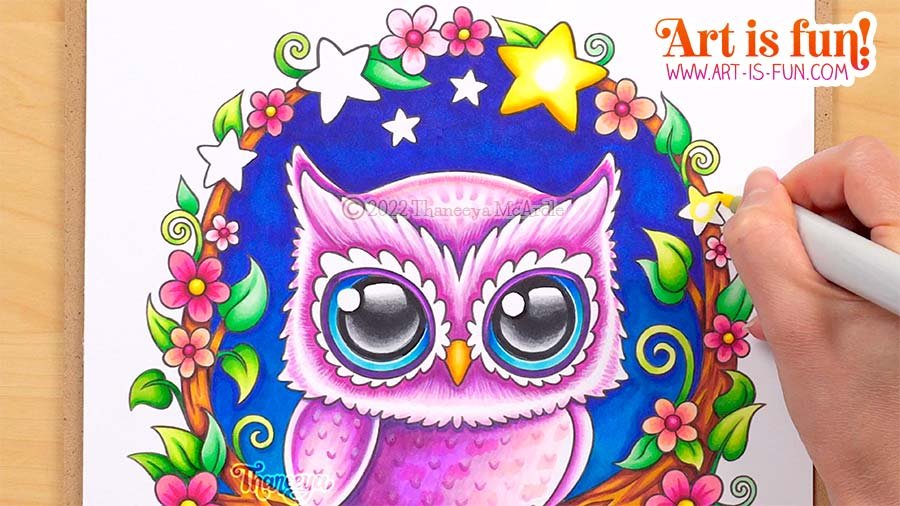
Now it’s time to use colored pencils to draw some twinkling stars on the night sky!
Below I use a white colored pencil to add little circles, as well as larger stars of different shapes, for variety! 😊
And now for the final step: using paint pens to add brighter, bolder stars to the night sky!
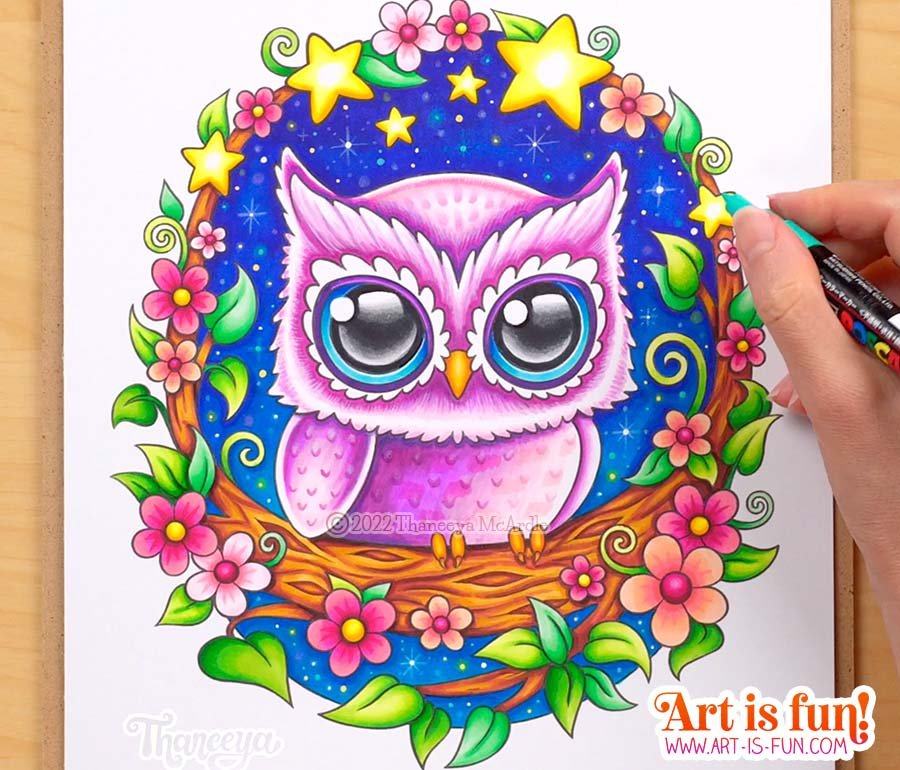
Below you can see the finish owl drawing! 😍

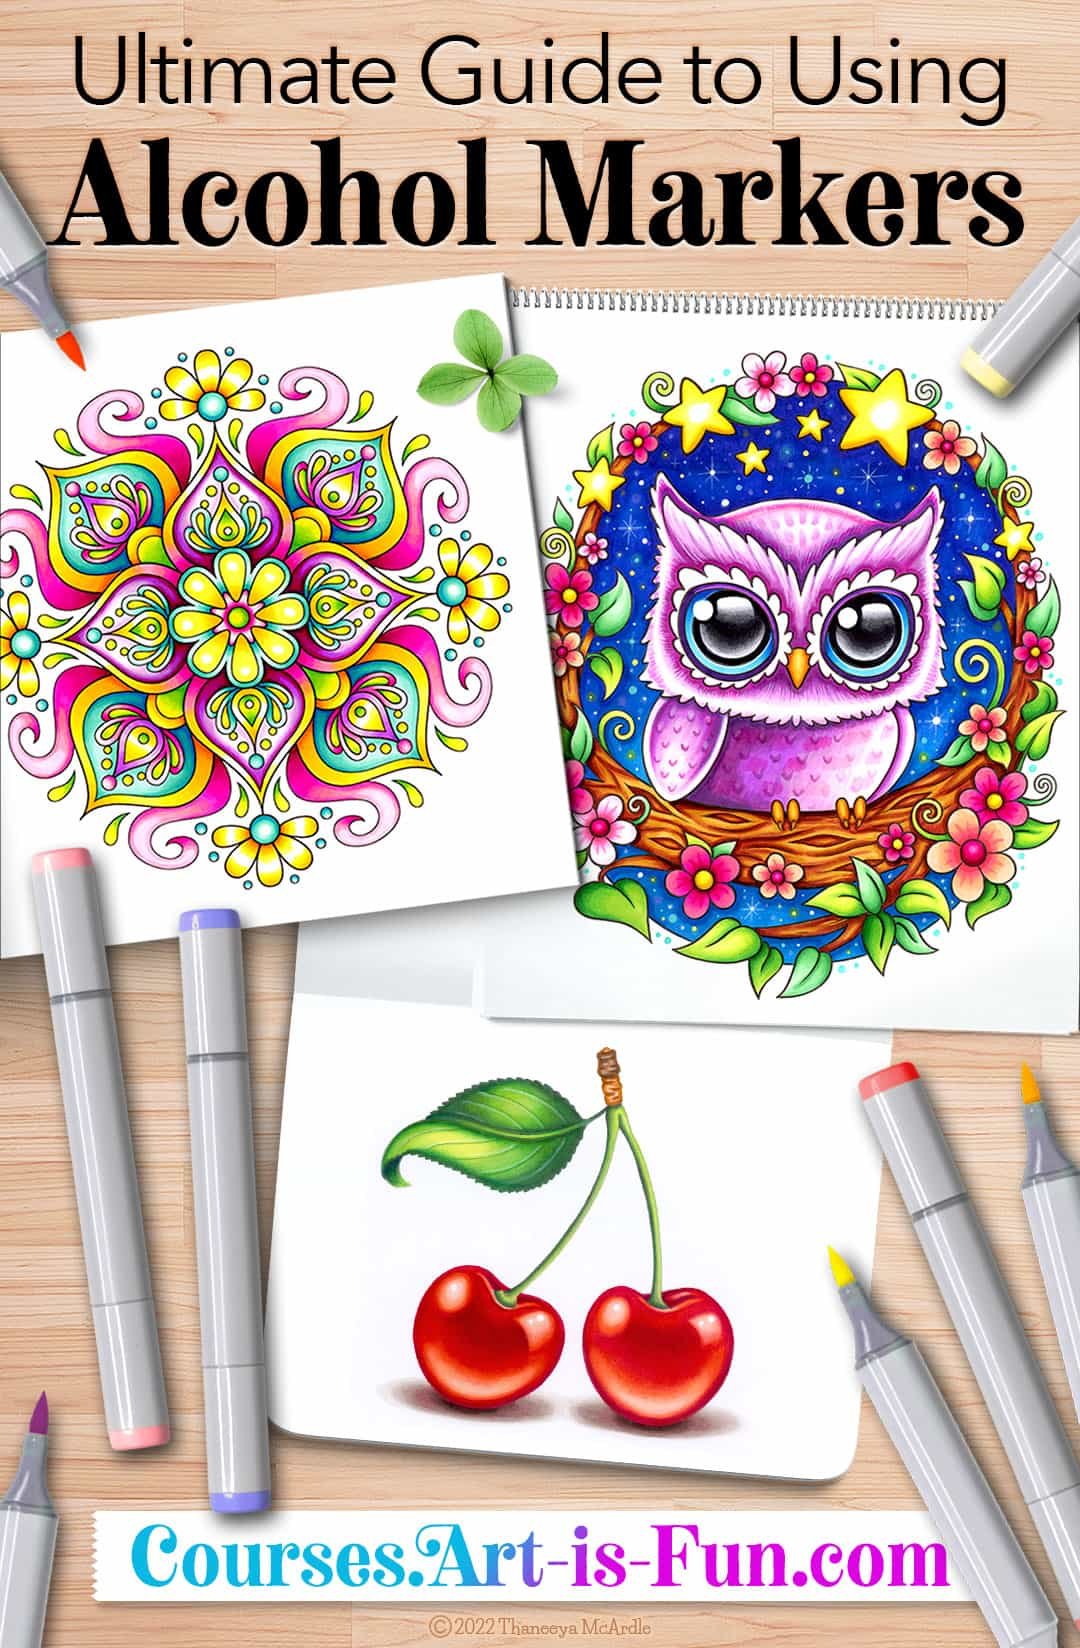
If you enjoyed this alcohol marker tutorial and want to learn these techniques even more in-depth, you can find this owl coloring project in my Ultimate Guide to Using Alcohol Markers!
The full-length owl project is 2 hours 40 minutes of narrated video, the vast majority of it being in real-time and shown from different angles, so it’s like you’re in the room with me, looking over my shoulder! The project is divided into 10 bite-sized video lessons, so you can follow along at your own pace.
Printable line art is included, as well as Color Names and Color Swatches. Whenever I change colors, the Color Name/Swatch pops up on the screen, making it even easier for you to follow along! 😍
Click below to watch the course trailer and see everything that you’ll get in my Ultimate Guide to Using Alcohol Markers:
If you’re a complete beginner when it comes to alcohol markers, that’s totally okay! This course is designed to take you from a complete beginner level to an advanced level. We start out with several basic blending lessons and gradually build up your skills to point where you can create the 3 artworks that you see above!
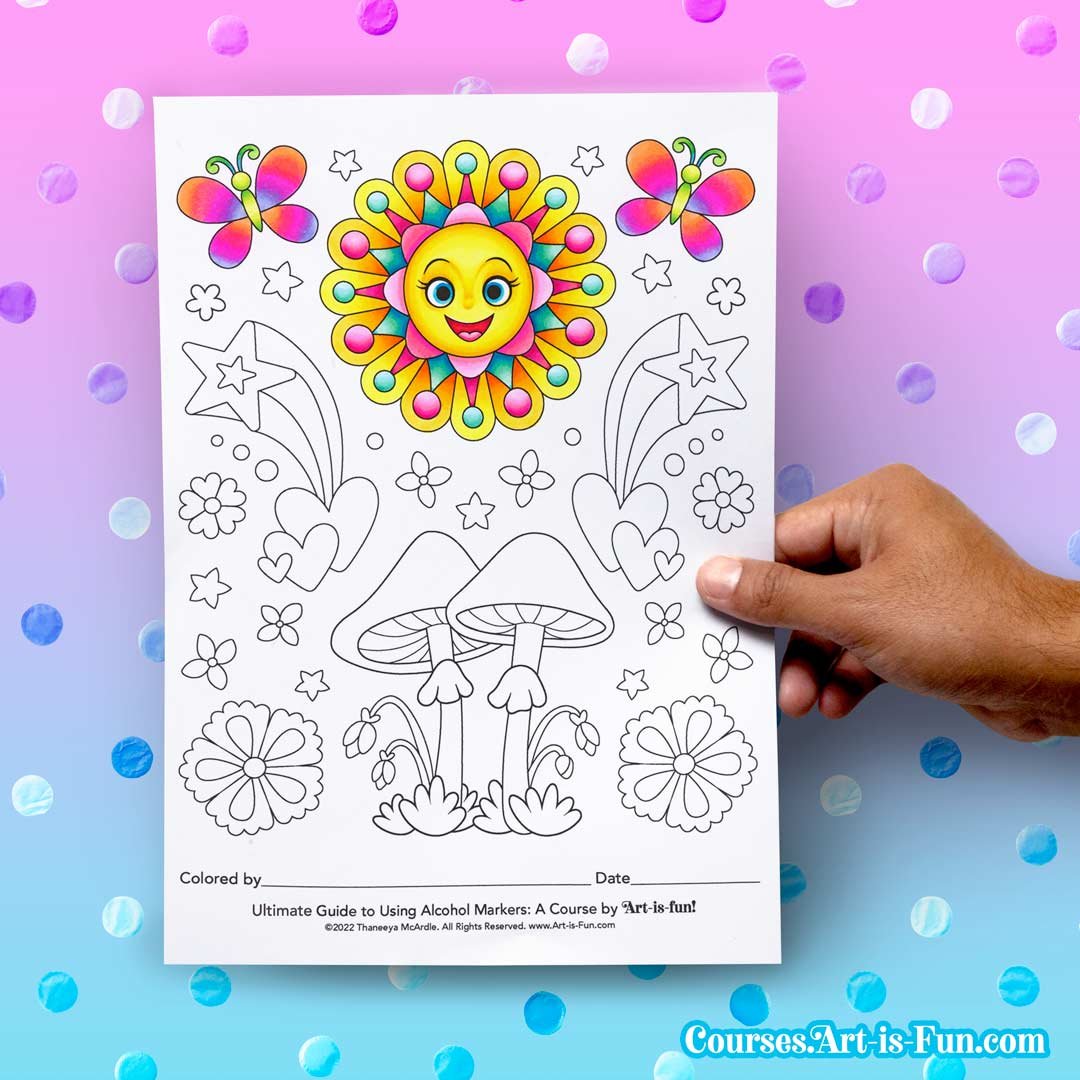
Each blending lesson includes a whimsical printable coloring page for you to practice what you've just learned, while honing your skills and building your confidence! Below you can see an example of one of the printables. I’ve also included detailed PDFs with the Color Names and Swatches for the colors I used, so you can copy my colors if you want! 🎨
Check out my Ultimate Guide to Using Alcohol Markers to learn more.
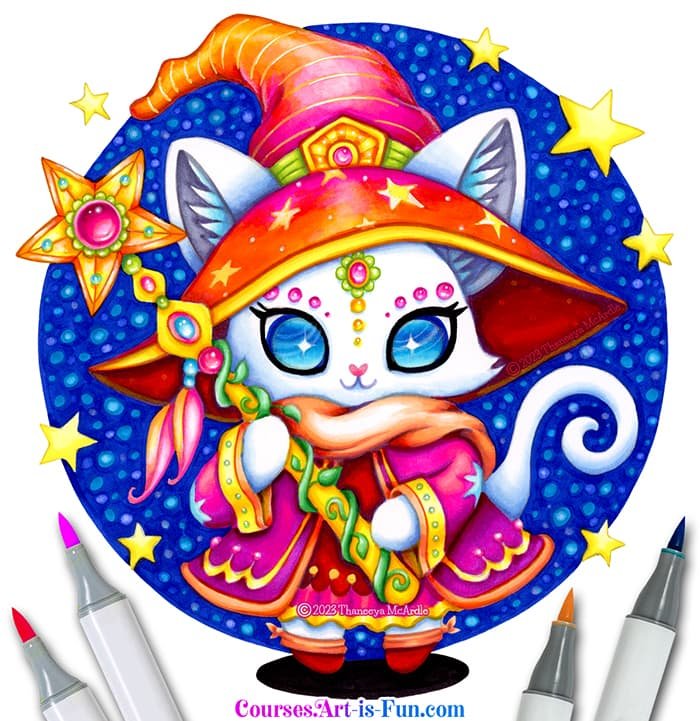
Color this kawaii cat!
If you love cute animals, join me in my Wizard Cat Alcohol Markers Course where I show you step-by-step how to color in the whimsical illustration below! Printable line art is provided, along with color names and swatches for both Ohuhu and Copic, so you can easily follow along!
Keep learning!
Learn more with my other fun alcohol marker tutorials!
Head back to the main Alcohol Markers Table of Contents!
Read about my favorite alcohol marker brands.
Get inspired by this gallery of Alcohol Marker Art!
Visit my YouTube channel for more alcohol marker videos!
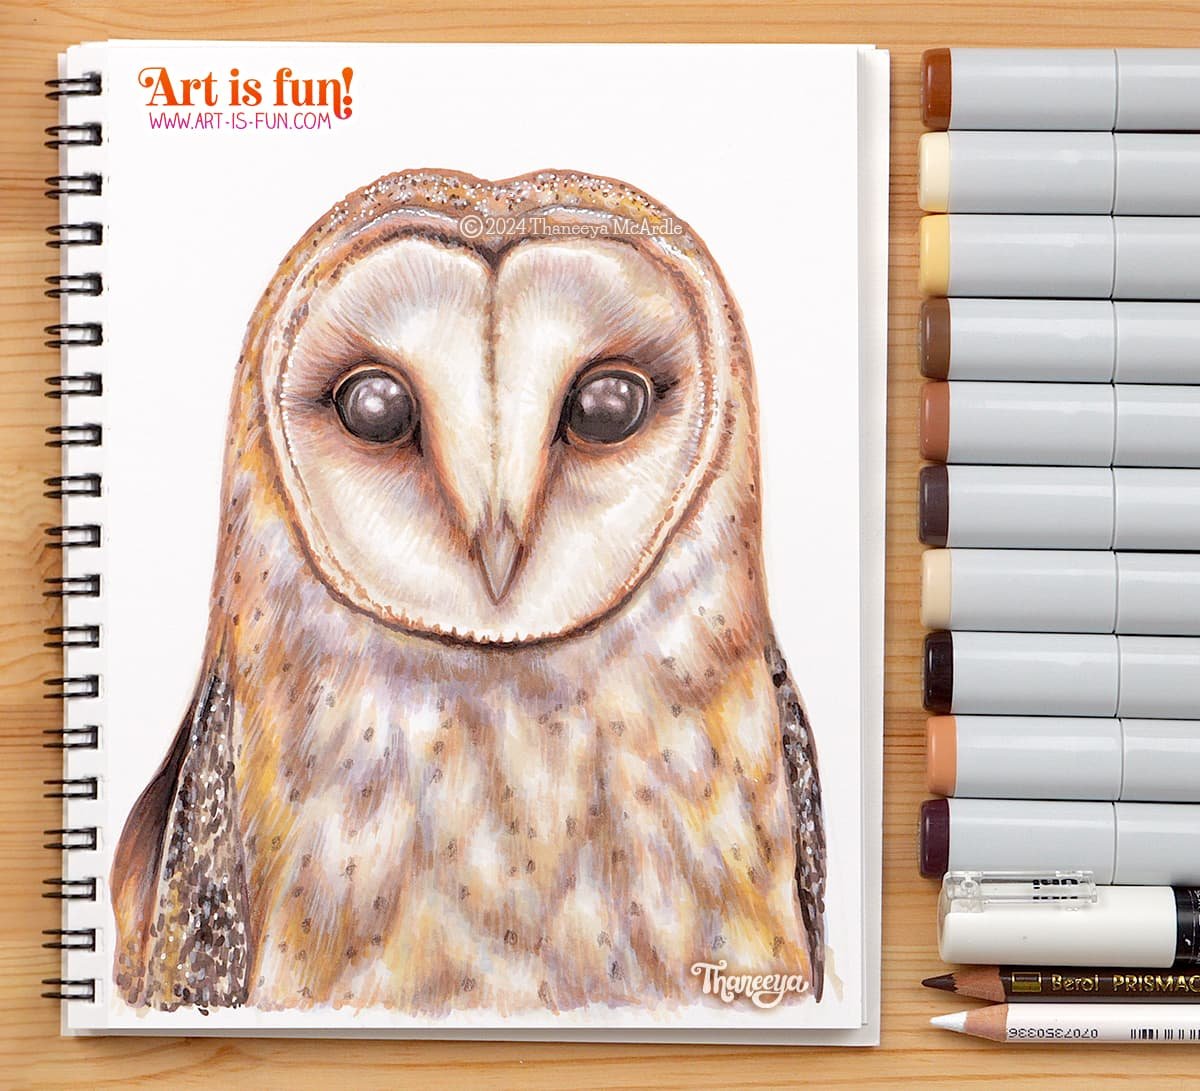
Draw realism with alcohol markers
If you like owls, check out my demo as I draw this realistic owl using alcohol markers! Follow along as I explain my favorite alcohol marker techniques for realism: