How to Refill Ohuhu Markers
Ohuhu’s ink refill bottles make it really easy to refill your Ohuhu Markers, so they last longer than ever!
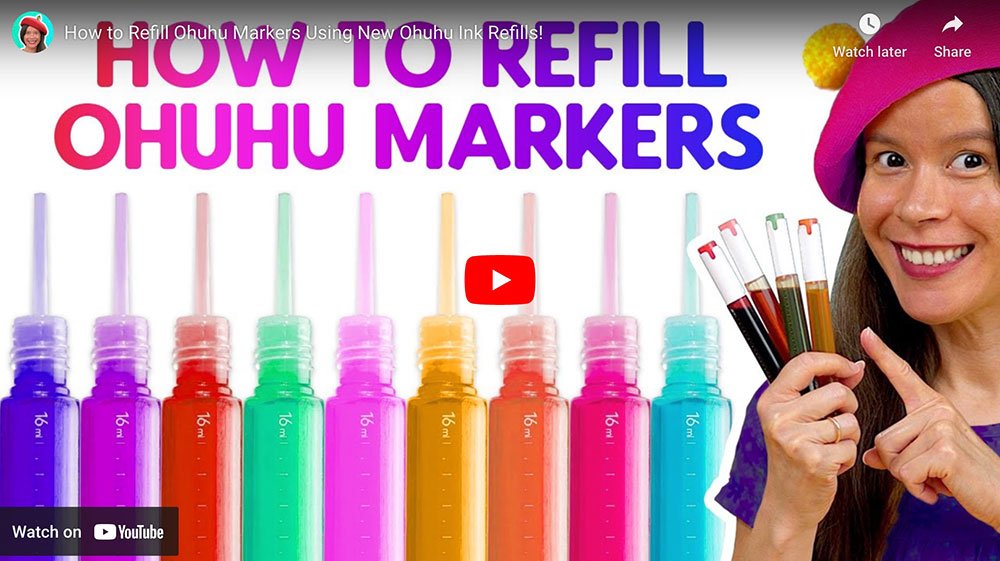
In my step-by-step video demonstration, I show you how to refill your Ohuhu Markers using two simple methods. Check out the Ohuhu refill video on my YouTube channel: How to Refill Ohuhu Markers.
If you’re a fan of Ohuhu markers, then you’ll be excited to learn that in June 2023, Ohuhu released their long-awaited refill inks that significantly extend the life of Ohuhu alcohol markers! These refill bottles make an already budget-friendly product even more cost-effective! 😍
Note: These ink refills are only available for Ohuhu Alcohol Markers. They are not compatible with water-based markers.
Ohuhu Ink Refills
If you’re familiar with Copic’s ink refills, you’ll feel right at home with Ohuhu ink refill bottles. They can be purchased from Ohuhu's website or from Amazon (affiliate links).
The ink bottles come in a marker-shaped barrel (for easy storage alongside your markers), and a secure screw-on cap, which covers a long nozzle that allows you to easily squeeze ink into your markers without making a mess!
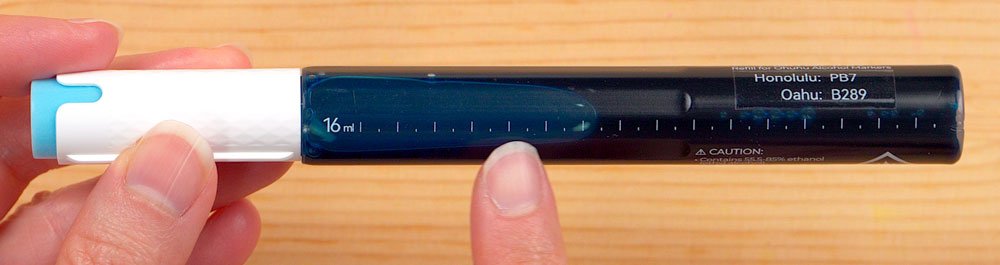
The bottles feature handy measurement marks (more on that later) and color codes that tell you which marker colors the ink is compatible with.
Each bottle contains 16ml of ink and costs approximately $5 USD. This compares favorably with Copic’s 12ml bottles that have a retail price of $6 USD.

There are two methods for refilling your Ohuhu markers: the drip method and what I call the direct method. Let’s take a look at each one.
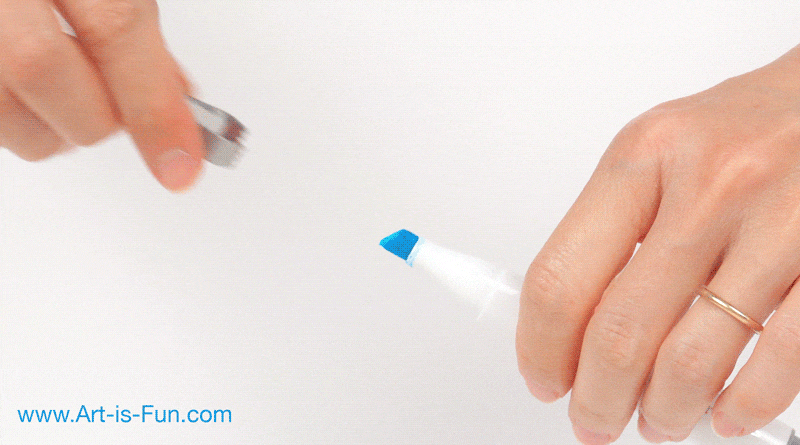
The Drip Method
The drip method is really simple. Basically you hold the refill bottle upside-down and slowly drip ink onto the nib of your marker. This method is best when you’re in the flow of making art and you don’t want to stop to completely refill your marker. If your strokes are getting a bit streaky, you can quickly top up the nib with ink without having to remove the nib.

How to Refill Ohuhu Markers
Using the Drip Method
Protect your workspace. You might accidentally spill a drop or two of ink, and ink stains are really hard to remove, so be sure to protect your workspace! Lay down some scrap paper, a paper towel or a rag (or you could refill your marker over a trash bin).
Remove both caps from the marker to equalize the pressure within the barrel.
Tilt the marker at 45 degree angle and then slowly drip ink onto the nib, waiting a few seconds in between drops so that the ink has time to soak in.
I’ll sometimes apply as many as 20 drops, but often fewer if I’m in a hurry to get back to my artwork.
If you do spill some ink, rubbing alcohol - I like the convenient pre-packaged wipes - can help clean it up.
NOTE: This method works best with the chisel nib and brush nib. I’d advise against using this method with the fine nib because it’s too small to properly catch and absorb the ink, and may cause a mess.
The Direct Method
The direct method is a bit more involved because you need to remove the marker nib to squeeze ink directly into the inside of the marker barrel, but this method saves you time in the long run because you can completely refill your marker.
This method is cleaner, but it’s still a good idea to protect your workspace (as described above).
Uncap both ends of the marker.
Use tweezers to remove the nib. I prefer to remove the chisel nib because it’s sturdy and easy to grip. If you don’t have tweezers, you can use a paper towel to remove the nib with your fingers.
Uncap the refill bottle and insert the nozzle into the marker. Hold both in an upright position.
Squeeze the bottle a few times to slowly add ink into the marker barrel. Wait approximately 3 seconds in between each squeeze.
Gently re-insert the nib back into the marker.
Leave the marker to rest horizontally for 5min so that the ink has time to penetrate both nibs.
How much ink should you add?
I mentioned earlier that the marker bottle comes with tick marks to show you how much of the 16ml of ink is in the bottle. However, I don’t find them very helpful when adding ink because it can be difficult to know how many ml of ink your marker needs.
For this reason, I use a digital kitchen scale (affiliate link) to weigh my marker before and after refilling. This allows me to be precise, without over-complicating the procedure. It also helps prevent me from adding too much ink to my markers, which is important because an over-filled marker can cause ink to blob out onto your artwork!
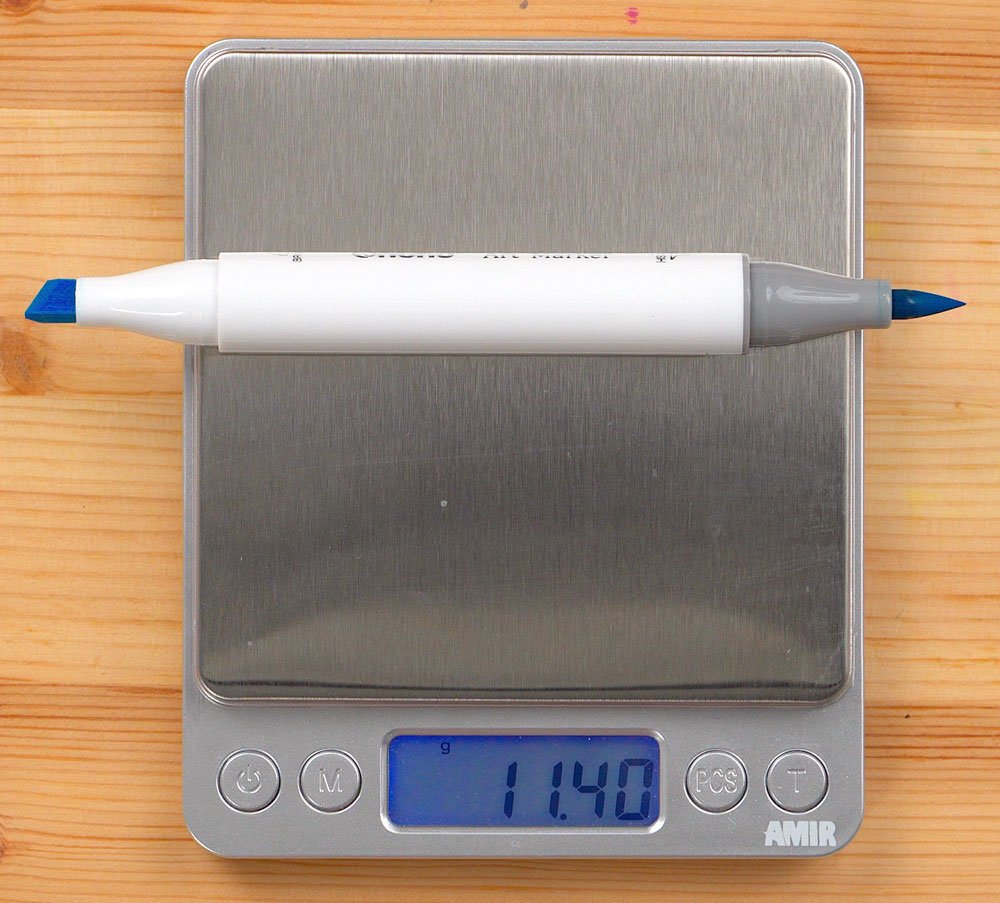
First, weigh a full marker so that you know what to aim for. My kitchen scale says that with both caps off, a full marker weights approximately 11.4g. I then weigh my empty marker to get a sense for how empty it is. Anything below 10g could do with a refill.
Then I add a few squeezes of ink, reinsert the nib and weigh the marker again. I repeat these steps until the marker weighs close to 11.4g, but not over. You’ll find that with experience, you become pretty good at estimating how much ink to add. Usually I only need two refillings before it’s close enough to being full.
In summary, I highly recommend Ohuhu's ink refills (affiliate link)! Ink refills are a fantastic addition to Ohuhu's popular line of alcohol markers products, and makes them an even stronger competitor to the long-time industry leaders, Copic.
Ohuhu Markers Course
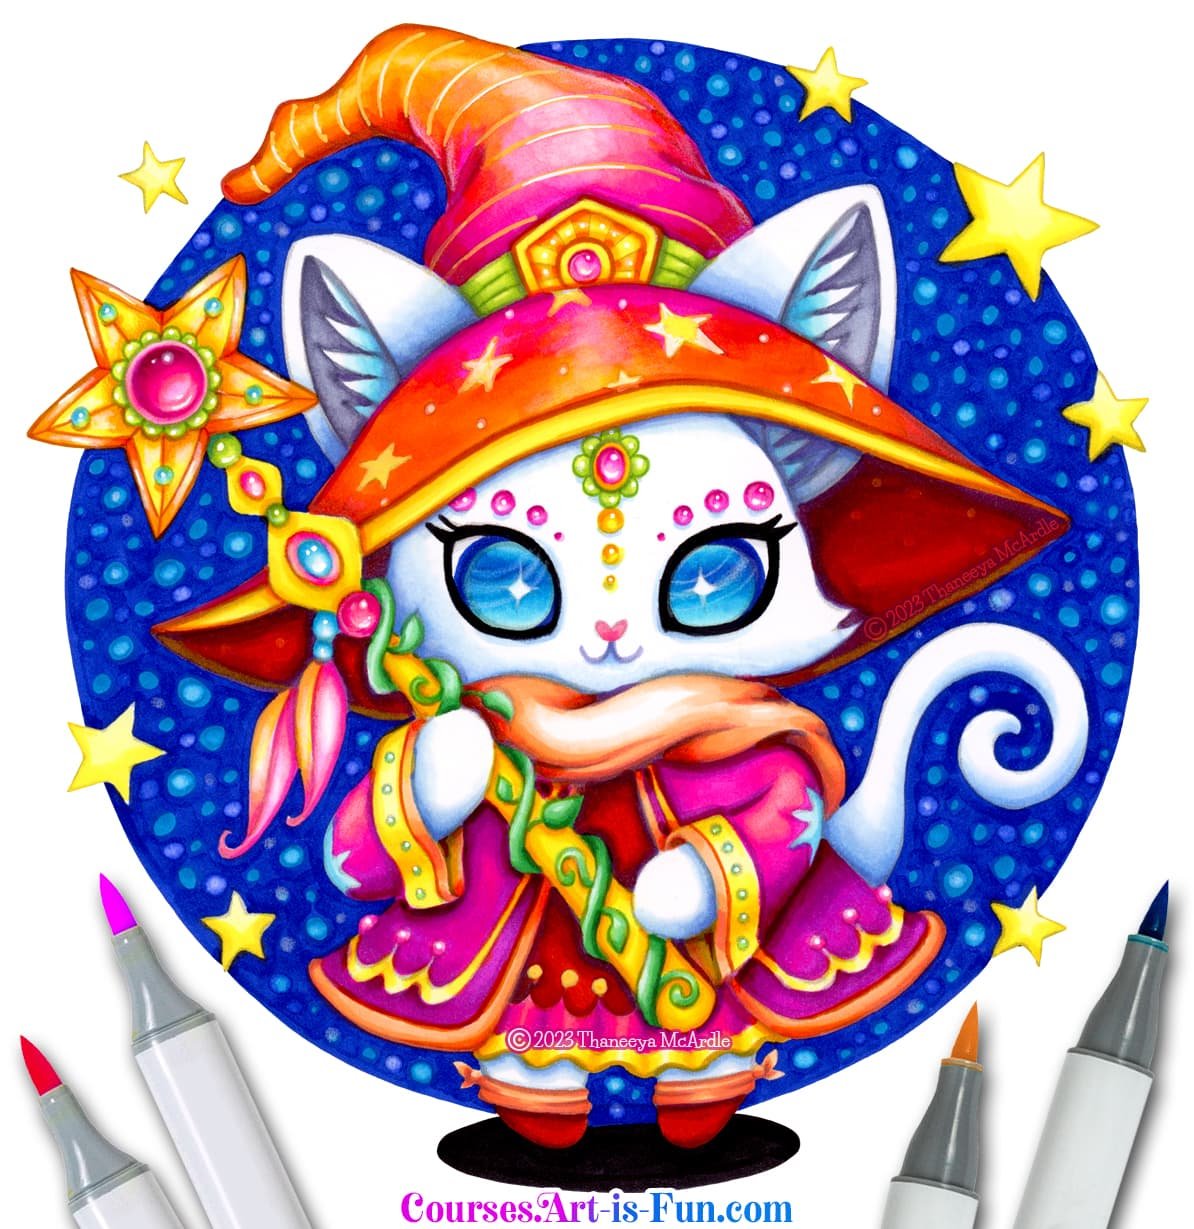
If you’d like to learn how to use your alcohol markers to create professional-quality works of art, check out my Wizard Cat Alcohol Markers Course, in which I use Ohuhu Markers to draw this adorable kawaii cat!
You get instant access to over 3 hours of step-by-step video instruction that will teach you to blend your Ohuhus, create seamless gradients, use the underpainting technique, fix mistakes and more!
Printable line art is provided, so no drawing skills are needed! I also provide the name and swatch for every color I use in real time, so you can easily follow along at home, at your own pace! 😍
Keep Learning!
Head back to the main Alcohol Markers Table of Contents.
Read my detailed review of Ohuhu Markers.
Check out these step-by-step Alcohol Marker Tutorials!
Get inspired by this gallery of Alcohol Marker Art!
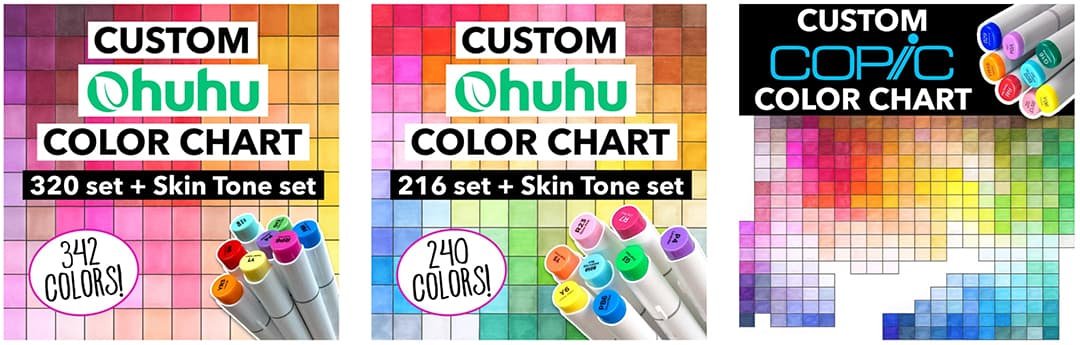
Custom Color Charts
Tired of searching through all your different swatch cards to find the right colors to blend together? In my custom color charts for Copic and Ohuhu, I’ve organized the colors based on what they actually look like, which makes it so much easier to choose colors! 😍
Realistic Alcohol Marker Techniques
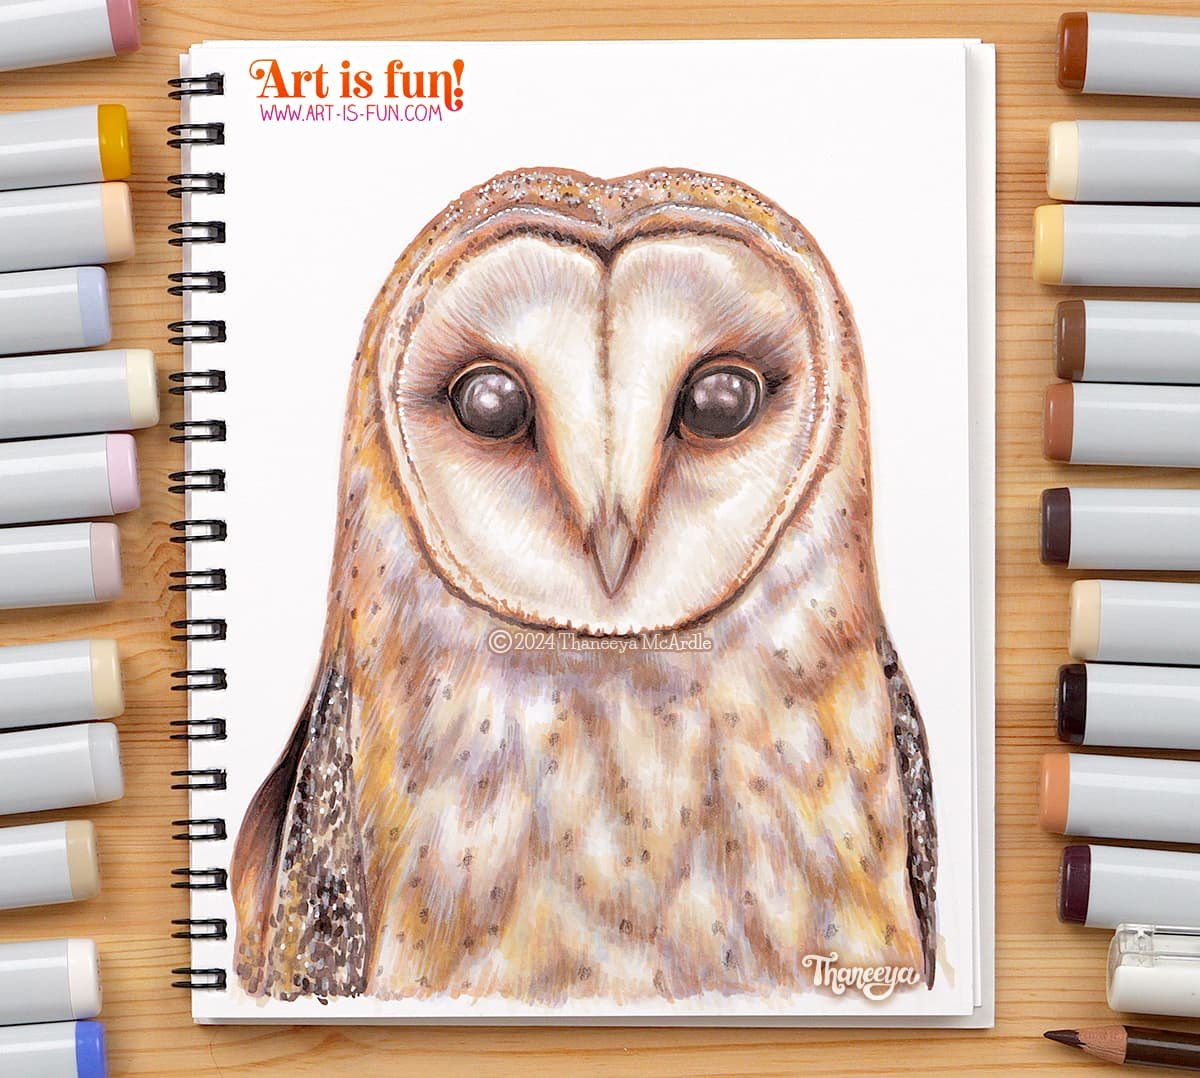
Learn how to draw realism with alcohol markers as I demonstrate the techniques I used to create the owl below!